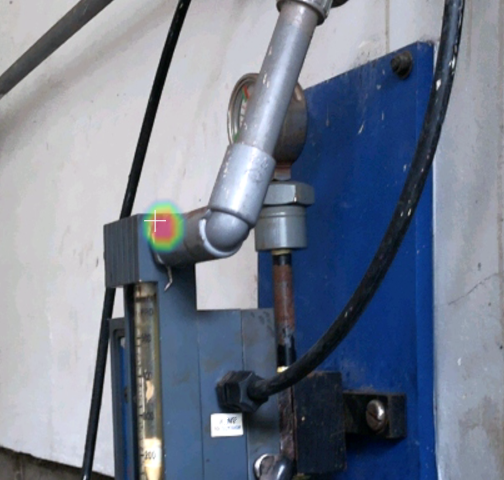
User interface
General
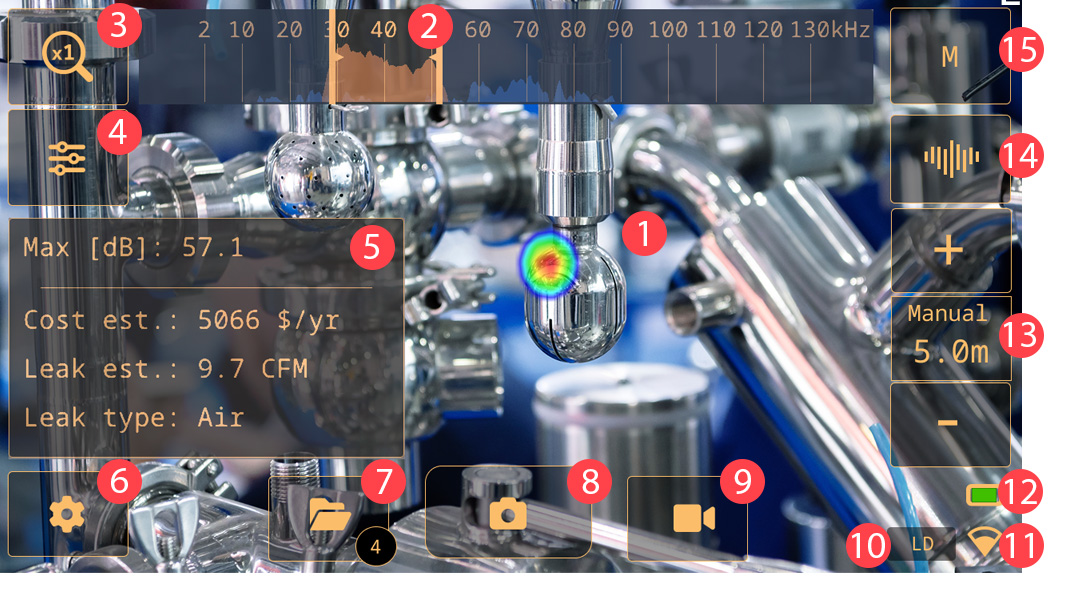
Acoustic image
Frequency view
Zoom button
Quick menu button
Analysis results (mode specific)
Settings button
Archive button
Snapshot button
Record button
Selected mode
Wi-Fi indicator
Battery indicator
Distance setting
Frequency view toggle
Filter button
Quick menu
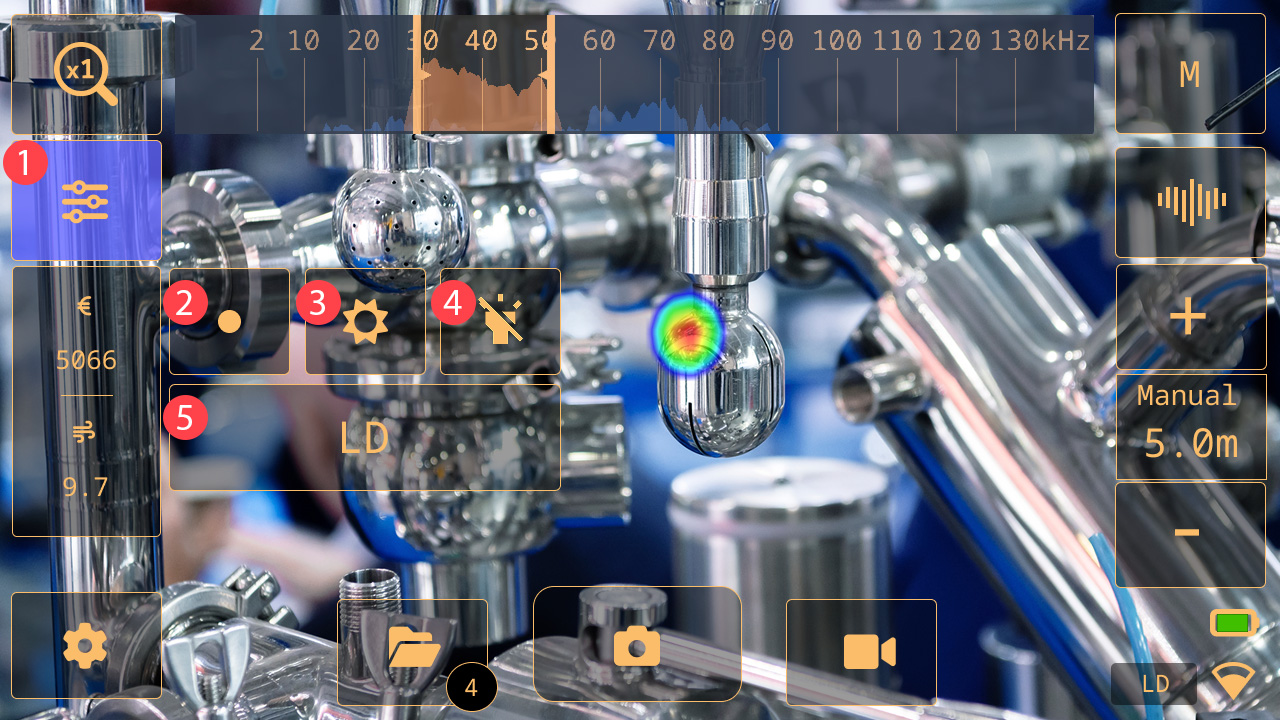
Quick menu button: Tap to open/close the Quick menu
Source button: Tap to switch between the Single-source and Multi-source modes. See section Single-source and Multi-source modes.
Brightness button: Tap to switch the brightness on and off.
Lamp button: Tap to switch the lamp on and off.
Selected mode button: Tap to cycle through the application mode options: LD (Leak detection), PD (Partial discharge), Mechanical. The available application modes depend on the camera model.
Archive indicators
The number of files in the archive is displayed within the circled area on the Archive button.
An animated upload progress spinner in the circled area indicates that files are being uploaded to the FLIR Acoustic Camera Viewer cloud service. Snapshots are automatically removed from the camera, after they have been uploaded to the FLIR Acoustic Camera Viewer cloud service or exported to a USB memory stick.
Wi-Fi indicator
Only applicable on camera models with Wi-Fi.
 |
Excellent Wi-Fi connection strength. |
 |
Good Wi-Fi connection strength. |
 |
Satisfactory Wi-Fi connection strength. |
 |
Poor Wi-Fi connection strength. |
 |
No Wi-Fi connection. |
Acoustic image
The acoustic image shows the location of a sound source, using colors ranging from red in the center to blue in the periphery.
The camera displays one or multiple sound sources, depending on the selected mode; Single-source or Multi-source. For more information, see section Single-source and Multi-source modes.