Achieving a good image
General
A good image depends on several different functions and settings, although some functions and settings affect the image more than others.
These are the functions and settings that you need to experiment with:
Adjusting the infrared camera focus.
Adjusting the infrared image (automatically or manually).
Selecting a suitable temperature range.
Selecting a suitable color palette.
Changing the measurement parameters.
Performing a non-uniformity correction (NUC).
The following sections explain how to work with these functions and settings.
In some situations, you may also want to hide the overlay graphics for a better view.
Adjusting the infrared camera focus
It is very important to adjust the focus correctly. Incorrect focus adjustment affects how the image modes work. It also affects the temperature measurement.
Manual focus
You can adjust the focus manually by rotating the focus ring. For more information, see section Manual focus.
Autofocus
You can autofocus the infrared camera by pushing the Autofocus button. For more information, see section Autofocus.
When the camera is set to autofocusing with the laser method (Settings > Device settings > Focus > Auto focus >Laser), do not point the camera at the face of a person when you use the autofocus function. The laser beam can cause eye irritation.
You can also assign the autofocus function to one of the programmable buttons. For more information, see section Programmable buttons.
Continuous autofocus
The infrared camera can be set up to perform continuous autofocusing. For more information, see section Continuous autofocus.
Do not point the camera at the face of a person when the continuous autofocus function is on. The camera uses laser distance measurements (that are continuous) for the focus adjustments. The laser beam can cause eye irritation.
For large lenses that cover the laser transmitter and receiver, the laser functionality is disabled. This means that continuous autofocus is not available.
Adjusting the infrared image
General
An infrared image can be adjusted automatically or manually.
In automatic mode, the camera continuously adjusts the level and span for the best image presentation, using one of the following color distribution methods:
Histogram: The colors are distributed based on the thermal content of the image.
Linear: The colors are distributed evenly from the lowest to the highest temperature.
The color distribution method for the automatic mode is configured
by a setting. Select  (Settings) > Device settings > User interface options > Auto adjustment method.
By using the Auto adjustment region feature it is possible to select an area of the image, and then have the colorization of the image adjusted based on the temperatures within that selected area. For more information, see section Auto adjustment region.
In manual mode, you can adjust the temperature scale to values close to the temperature of a specific object in the image. This will make it possible to detect anomalies and smaller temperature differences in the part of the image of interest. In manual mode, the colors are distributed evenly from the lowest to the highest temperature (linear color distribution).
In manual mode, you can adjust the image by touching the screen or by using the navigation pad. For more information, see sections Manual adjustment by touching the screen and Manual adjustment by using the navigation pad.
In live mode, touch the soft button
 to switch between automatic and manual image adjustment
modes.
to switch between automatic and manual image adjustment
modes.In preview/edit mode, manual image adjustment mode is active.
You can also assign image adjustment functions to the programmable buttons. For more information, see section Programmable buttons.
Switch between auto and manual: Allows you to switch between automatic and manual image adjustment modes.
Auto adjust the manual temperature scale: Allows you to perform an automatic adjustment of the image while remaining in manual image adjustment mode.
Example 1
Here are two infrared images of a building. In the left image, which is auto-adjusted, the large temperature span between the clear sky and the heated building makes a correct analysis difficult. You can analyze the building in more detail if you change the temperature scale to values close to the temperature of the building.
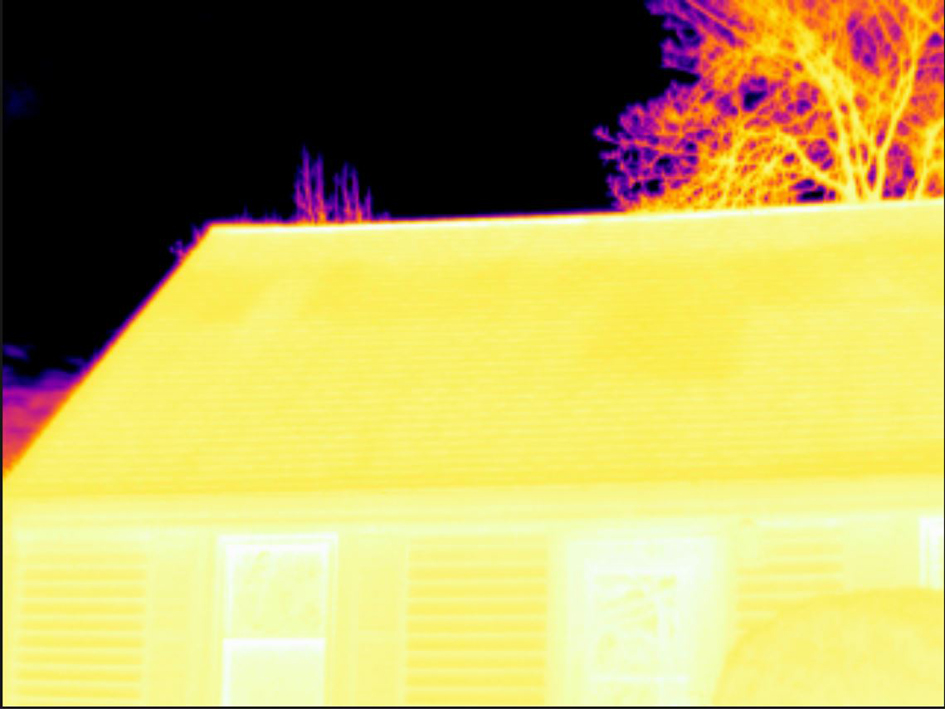
Automatic |
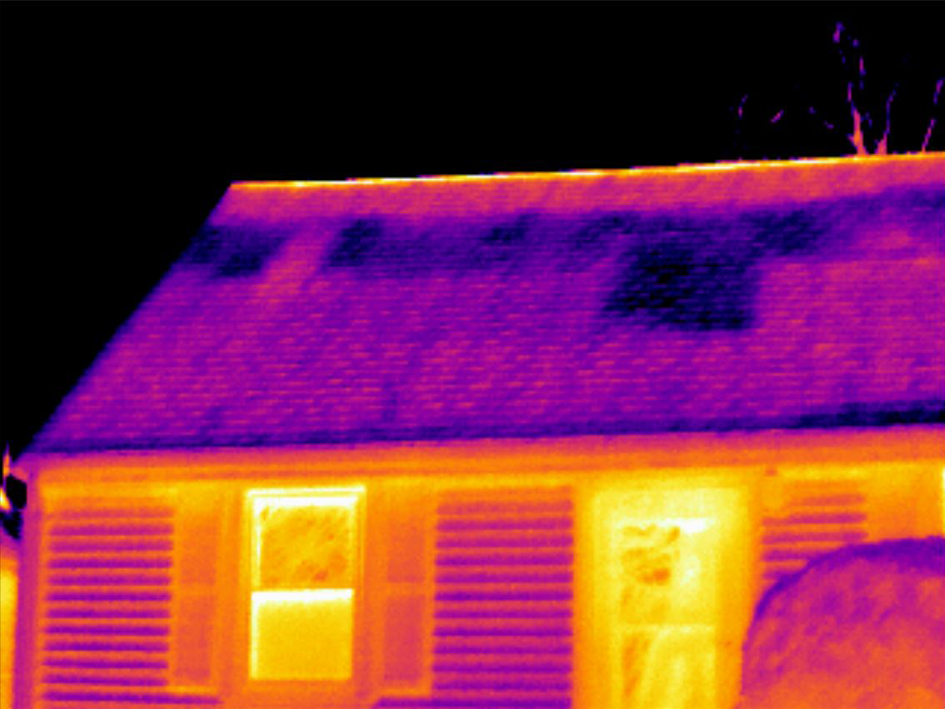
Manual |
Example 2
Here are two infrared images of an isolator in a power line. To make it easier to analyze the temperature variations in the isolator, the temperature scale in the right image has been changed to values close to the temperature of the isolator.
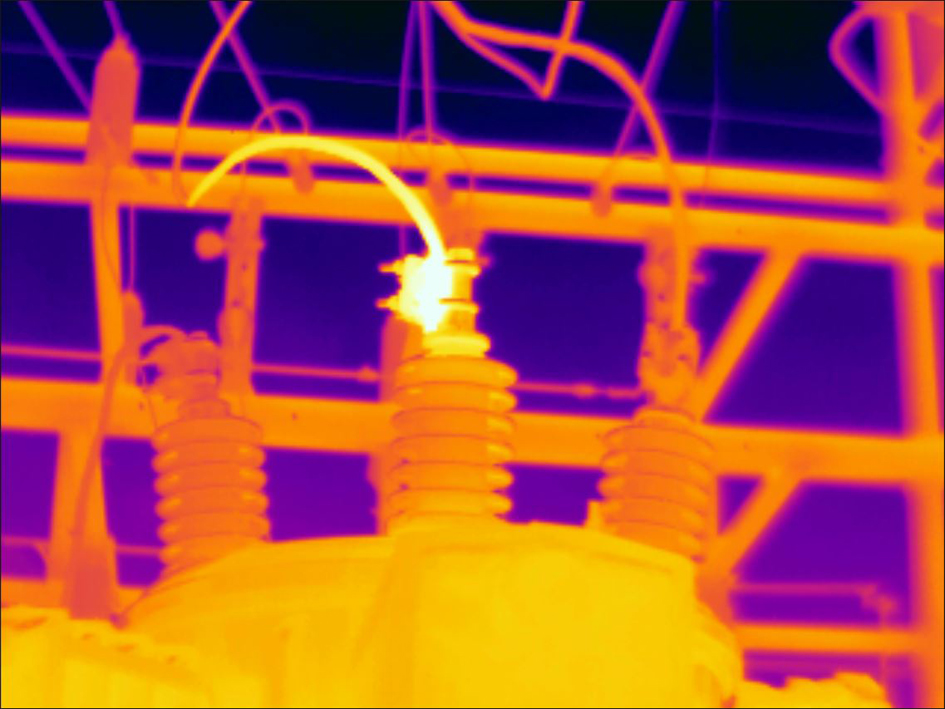
Automatic |
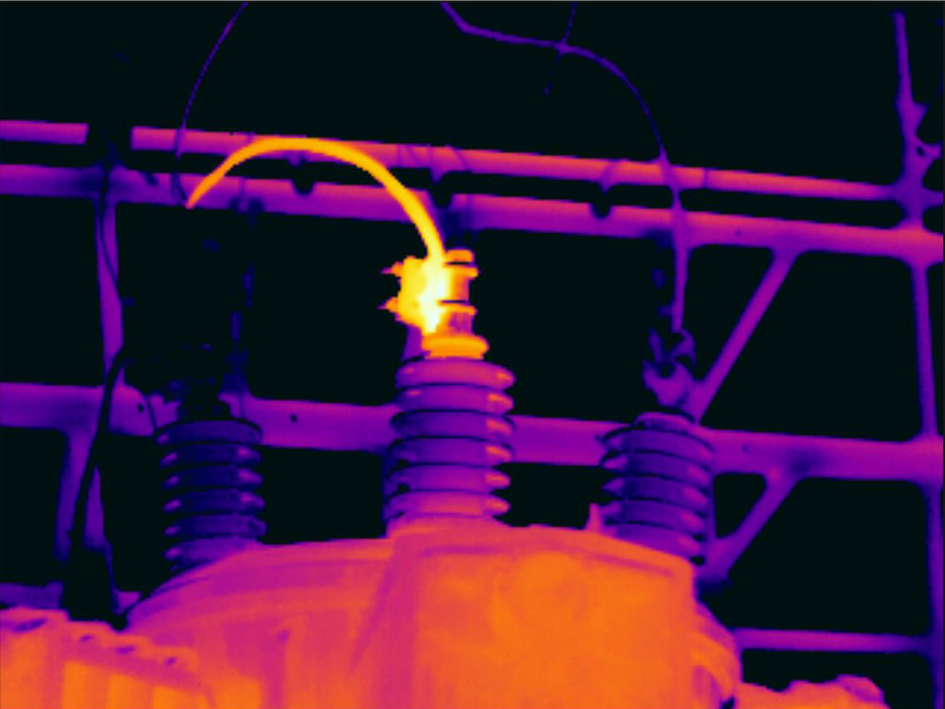
Manual |
Auto adjustment region
When you auto-adjust a thermal image, you adjust it for the best image brightness and contrast. This means that the color information is distributed over the existing temperatures of the image.
In some situations, the image may contain very hot or very cold areas outside your area of interest. In such cases you might want to exclude those areas and use the color information only for the temperatures in your area of interest. You can do so by selecting a smaller auto adjustment region.
Select the auto adjustment region under (Settings) > Device settings > User interface options > Auto adjustment region.
Manual adjustment by touching the screen
General
The touch functionality for manual image adjustments is enabled/disabled
by a setting. Select (Settings) > Device settings > User interface options > Manual adjustment using
touch > On/Off.
When manual image adjustment mode is active, an adjustment wheel is displayed to the right of the temperature scale. (Applicable when the manual adjustment by touch functionality is enabled.)
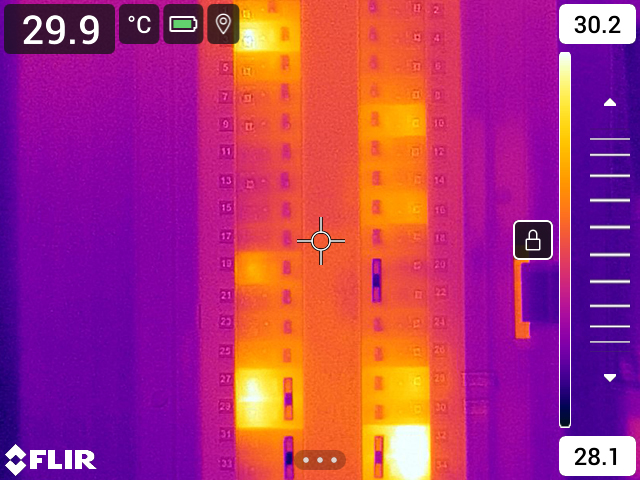
Figure 1. Manual adjustment mode active
Procedure
In live mode, touch the soft button
to enter manual image adjustment mode.To simultaneously change the temperature scale minimum and maximum limits, place your finger on the screen and move it up/down.
To change the minimum limit or the maximum limit, do the following:
Touch the maximum or minimum temperature that you want to change.
Place your finger on the screen and move it up/down to change the value of the highlighted temperature.
Auto-adjusting the image in manual mode
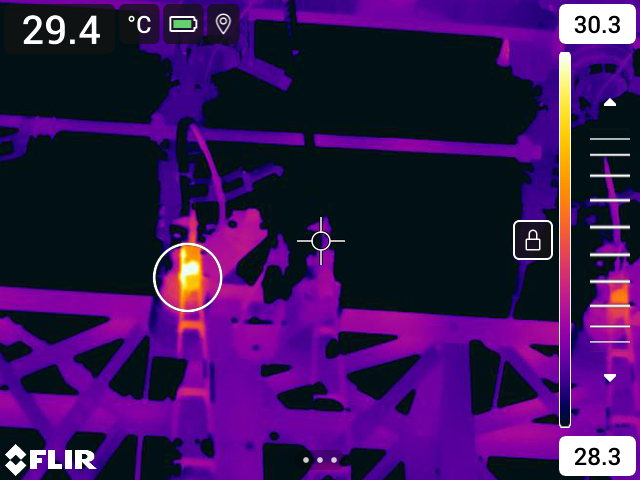
In manual image adjustment mode, you can auto-adjust the image by touching the screen. The image will be auto-adjusted based on the thermal content of the area around the touched point. The top and bottom levels in the temperature scale will be set to the maximum and minimum temperatures in that area. By using the color information only for the relevant temperatures, you will get more details in your area of interest.
Locking the touch screen
When you have adjusted the image to levels that allow you to study your area of interest, you can lock the touch screen to prevent further unintentional adjustments.
To lock the screen, touch the  icon to the left of the temperature scale.
To unlock the screen, touch the  icon to the left of the temperature scale.
If you switch to automatic image adjustment mode, the screen automatically unlocks and your manual adjustments are lost.
Manual adjustment by using the navigation pad
Manual adjustment modes
There are two different settings for the manual adjustment mode (applicable for the navigation pad only):
Level, Span: With this setting, you can manually adjust the level and span by using the navigation pad.
Level, Max, Min: With this setting, you can manually adjust the level by using the navigation pad. You can also change the upper and lower temperatures individually.
Select the type of manual image adjustment mode under (Settings) > Device settings > User interface options > Manual adjustment mode.
Manual adjustment in Level, Span mode
This procedure assumes that you have configured the camera for manual image adjustments in Level, Span mode. Select Settings > Device settings > User interface options > Manual adjustment mode = Level, Span.
Follow this procedure:
In live mode, touch the soft button
to enter manual image adjustment mode.Push the navigation pad up/down to increase/decrease the level.
Push the navigation pad left/right to increase/decrease the span.
Manual adjustment in Level, Max, Min mode
This procedure assumes that you have configured the camera for manual image adjustments in Level, Max, Min mode. Select Settings > Device settings > User interface options > Manual adjustment mode = Level, Max, Min.
Follow this procedure:
In live mode, touch the soft button
to enter manual image adjustment mode.To simultaneously change the temperature scale minimum and maximum limits, push the navigation pad up/down.
To change the minimum limit or the maximum limit, do the following:
Push the navigation pad left/right to select (highlight) the maximum or minimum temperature.
Push the navigation pad up/down to change the value of the highlighted temperature.
Changing the camera temperature range
The camera is calibrated for different temperature ranges. Available temperature range options are dependent on the camera model.
For accurate temperature measurements, you must change the Camera temperature range setting to suit the expected temperature of the object you are inspecting.
For more information, see section About calibration.
Follow this procedure:
Push the navigation pad to display the menu system.
Select
(Settings) and push the navigation pad. This displays the Settings menu.Select Camera temperature range and push the navigation pad. This displays a dialog box.
Select the appropriate temperature range and push the navigation pad.
You can also assign the function Switch temperature range to one of the programmable buttons. For more information, see section Programmable buttons.
Changing the color palettes
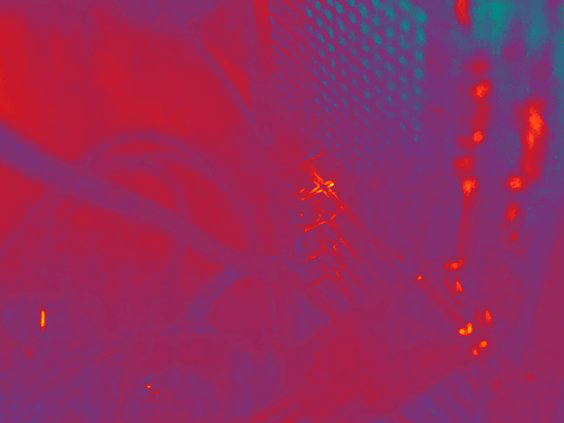
You can change the color palette that the camera uses to display different temperatures. A different palette can make it easier to analyze an image.
This table explains the different types of color palettes.
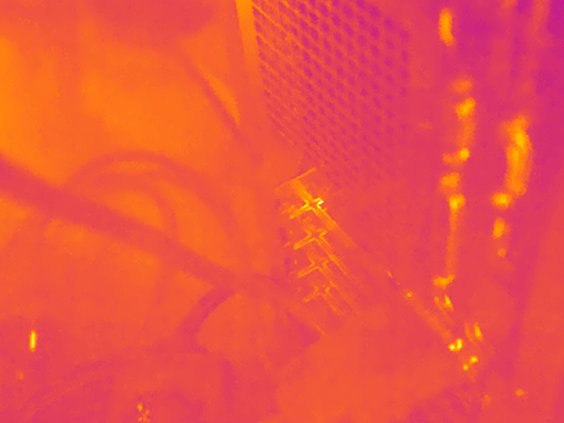
Iron |
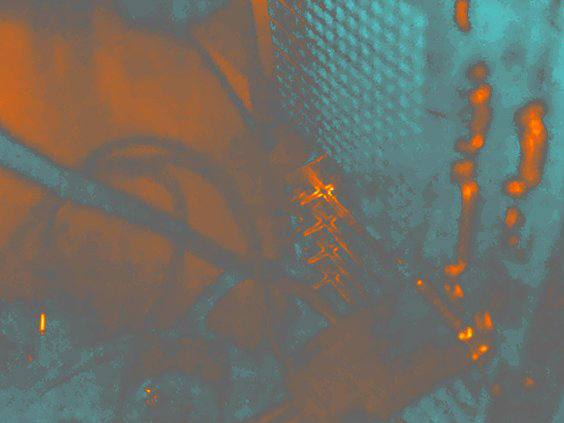
Arctic |
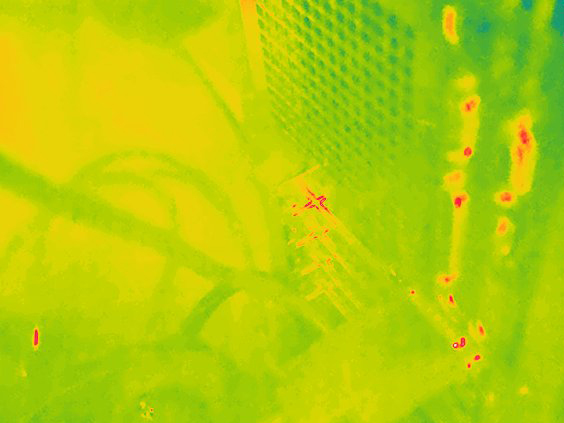
Rainbow |
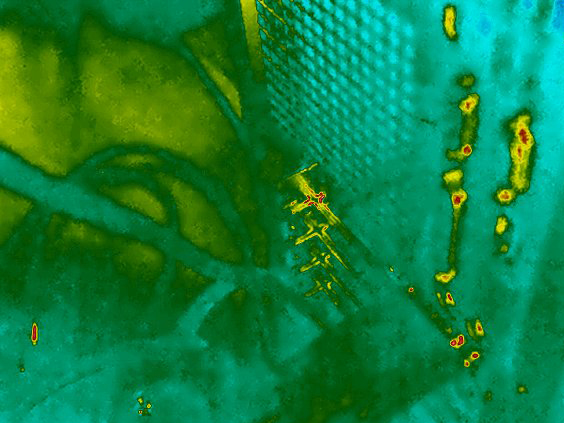
Rainbow high contrast |
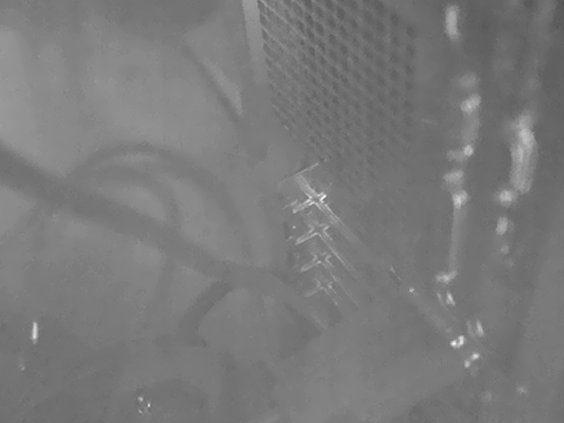
White hot |
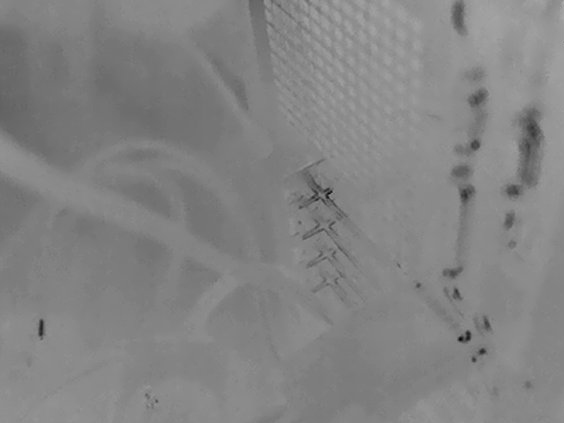
Black hot |
Lava |
Follow this procedure:
Push the navigation pad to display the menu system.
Select
 (Color) and push the navigation pad. This displays a submenu.
Use the navigation pad to select a different palette.
Push the navigation pad to confirm and exit the menu mode.
Changing the measurement parameters
For accurate measurements, it is important to set the measurement parameters:
Emissivity.
Reflected temperature.
Object distance.
Atmospheric temperature.
Relative humidity.
External IR window compensation.
Emissivity is the most important measurement parameter to set correctly. If the Emissivity is set to a low value, the Reflected temperature also becomes important. The parameters Object distance, Atmospheric temperature, and Relative humidity are relevant for longer distances. The External IR window compensation must be activated if a protective window or external lens is used.
You can set the measurement parameters globally. You can also change the Emissivity, Reflected temperature, and Object distance parameters locally for a measurement tool.
For more information, see section Changing the measurement parameters.
Performing a non-uniformity correction (NUC)
General
When the thermal camera displays Calibrating... it is performing what in thermography is called a ”non-uniformity correction” (NUC). An NUC is an image correction carried out by the camera software to compensate for different sensitivities of detector elements and other optical and geometrical disturbances1. For more information, see section About calibration.
An NUC is performed automatically, for example at start-up, when changing a measurement range, or when the environment temperature changes.
You can also perform an NUC manually. This is useful when you have to perform a critical measurement with as little image disturbance as possible. You may, for example, want to perform a manual calibration just before you start recording a video sequence.
Performing an NUC manually
To perform a manual NUC, push and hold down the image archive button  for more than 2 seconds.
You can also assign the function Calibrate to the one of the programmable buttons. For more information, see section Programmable buttons.
Hiding all overlay
The camera overlay consists of overlay graphics and image overlay information. The overlay graphics include items such as measurement tool symbols, result tables, and status icons. The image overlay information, which you activate on the Settings menu, provides additional information such as the date, emissivity, and atmospheric temperature. For more information, see section Image overlay information.
You can hide all camera overlay by touching
the soft button  .
.
You can also assign the function Hide image overlay graphics to one of the programmable buttons. For more information, see section Programmable buttons.
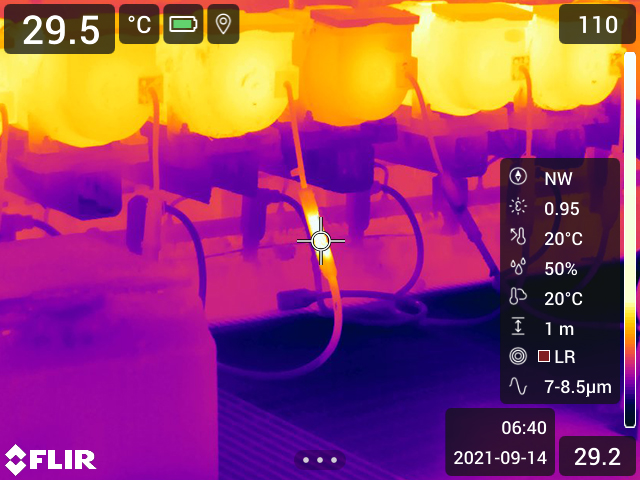
Image with camera overlay and image overlay information. |
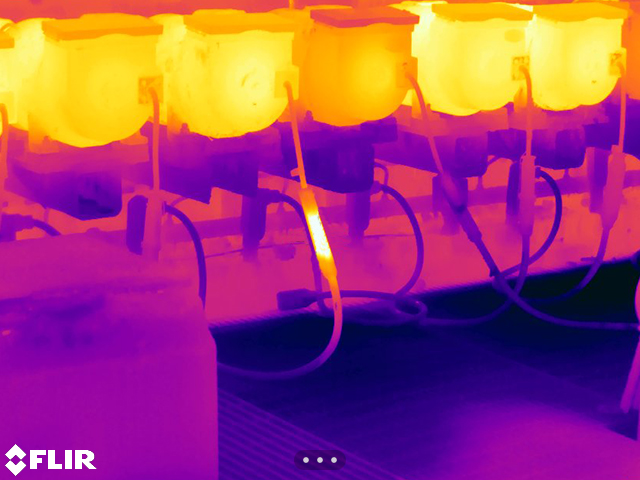
Image with all overlay hidden. |