Saving and working with images
Saving an image
To save an image, push the Save button at the top of the camera.
When you save an image, the camera stores the image file in the camera memory. You can also set up the camera to upload images for storage online, see section Uploading images.
Saving a high-resolution visual image
Select the Digital camera image mode to save a high-resolution visual image (5 megapixel image). Note that no thermal information is stored when in this image mode.
About image files
When an image is saved in one of the image modes Thermal MSX, Thermal, or Picture in picture, the saved image file contains all thermal and visual information. This means that you can open an image file, in the camera or in a FLIR Thermography software, and, for example, change the color palette, apply another image mode, and add measurement tools.
When an image is saved in the Digital camera image mode, a 5 megapixel image containing only the visual information is saved.
File-naming convention
The naming convention for image files is FLIRxxxx.jpg, where xxxx is a unique counter.
To reset the numbering of the image filenames,
tap  (Settings) > Device settings > Reset options > Reset image counter... > Reset.
To prevent image files being overwritten, the new counter value will be based on the highest existing filename number in the camera memory. To ensure that the counter is reset to 0001, delete all images from the camera memory before resetting the counter.
Adding a note
To make reporting and post-processing more efficient, you can add notes with additional information, e.g., conditions and information about where an image is taken. The notes are added to the image file and can be viewed and edited in the camera or in a FLIR Thermography software.
You can set up the camera to automatically
prompt for a note when an image has been saved. Select (Settings) > Save options & storage > Add note after saving = On.
You can also add notes to saved images in the image gallery, by doing the following:
Tap the Gallery button
 .
.Tap a folder and then tap an image.
Tap
 and then tap Note.
A soft keyboard is displayed, where you can enter text.
When completed, tap Done on the soft keyboard.
To get the note stored online, make a manual upload of the image. See section Manual upload.
Editing a saved image
Tap the Gallery button
.Tap a folder and then tap an image.
Tap
and then tap Edit. This opens the image in edit mode.Manual adjustment mode is now active. For adjustment instructions, see section Manually adjusting the temperature scale.
Tap the menu button
 .
.To change the image mode, tap Image mode
 .
.To add a measurement tool, tap Measurement
 .
.To change the color palette, tap Color
 .
.
To exit edit mode, tap
 .
.To get the edited image stored online, make a manual upload of the image. See section Manual upload.
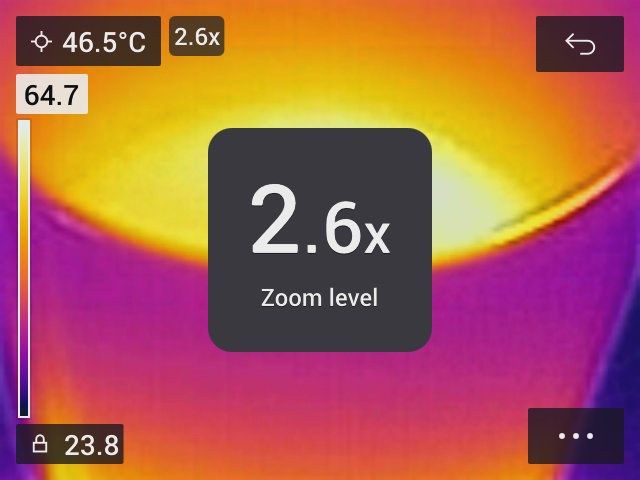
Zooming and panning an image
You can zoom an image by using the camera’s digital zoom function. You can do this on live images and on saved images in edit mode. While zooming in edit mode, you can also pan the image.
The digital zoom factor is temporarily displayed in the center of the screen.
To digitally zoom and pan an image, do the following:
Zoom in: Touch the screen with two fingers and spread the fingers apart.
Zoom out: Touch the screen with two fingers and pinch the fingers together.
Pan: While in edit mode and after zooming in, touch the screen with one finger and move the finger.