Asset library
With Asset library it is easy to keep track of which critical assets you have in your production, what condition they are in, and whether they need service or perhaps replacement.
The Asset library has three types of objects: location, asset and inspection point.
Location: Location can be a building, a floor, a room or a group. Location helps to locate the assets.
Asset: The asset to inspect, for example a pump or a transformer.
Inspection point: The inspection point is where the asset or part of the asset is to be inspected. An asset can have more than one inspection point.
To inspect an asset using the routing feature in the camera, the asset needs at least one inspection point. See example in Figure 1.
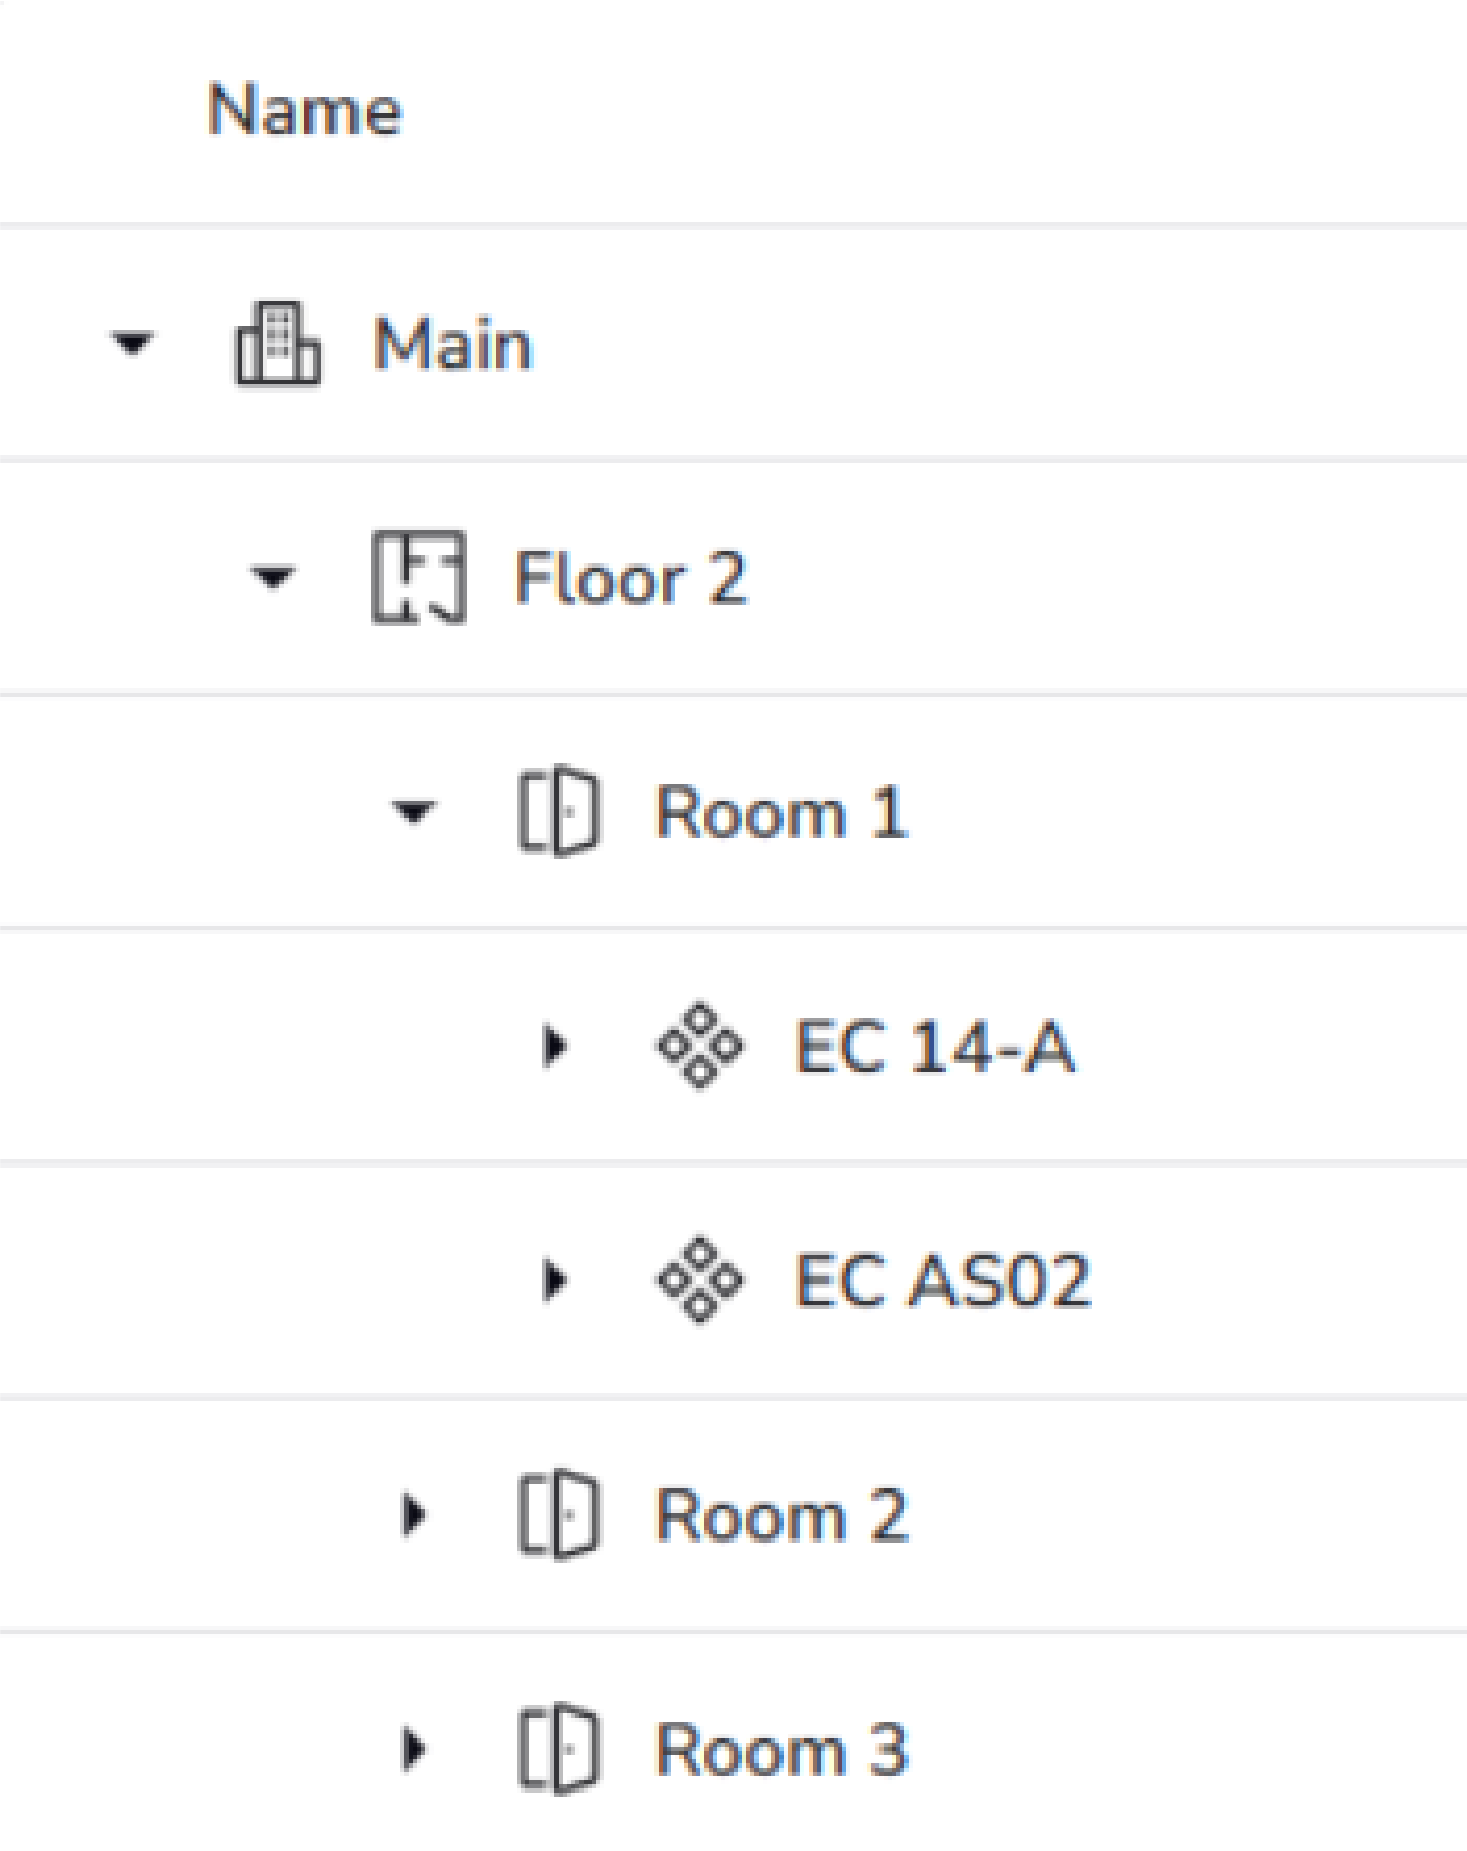
Figure 1. Room 1, located on floor 2, has two inspection points EC 14–A and EC AS02.
Set up Asset library
To set up an Asset library for a site, go to the site and select Asset library.
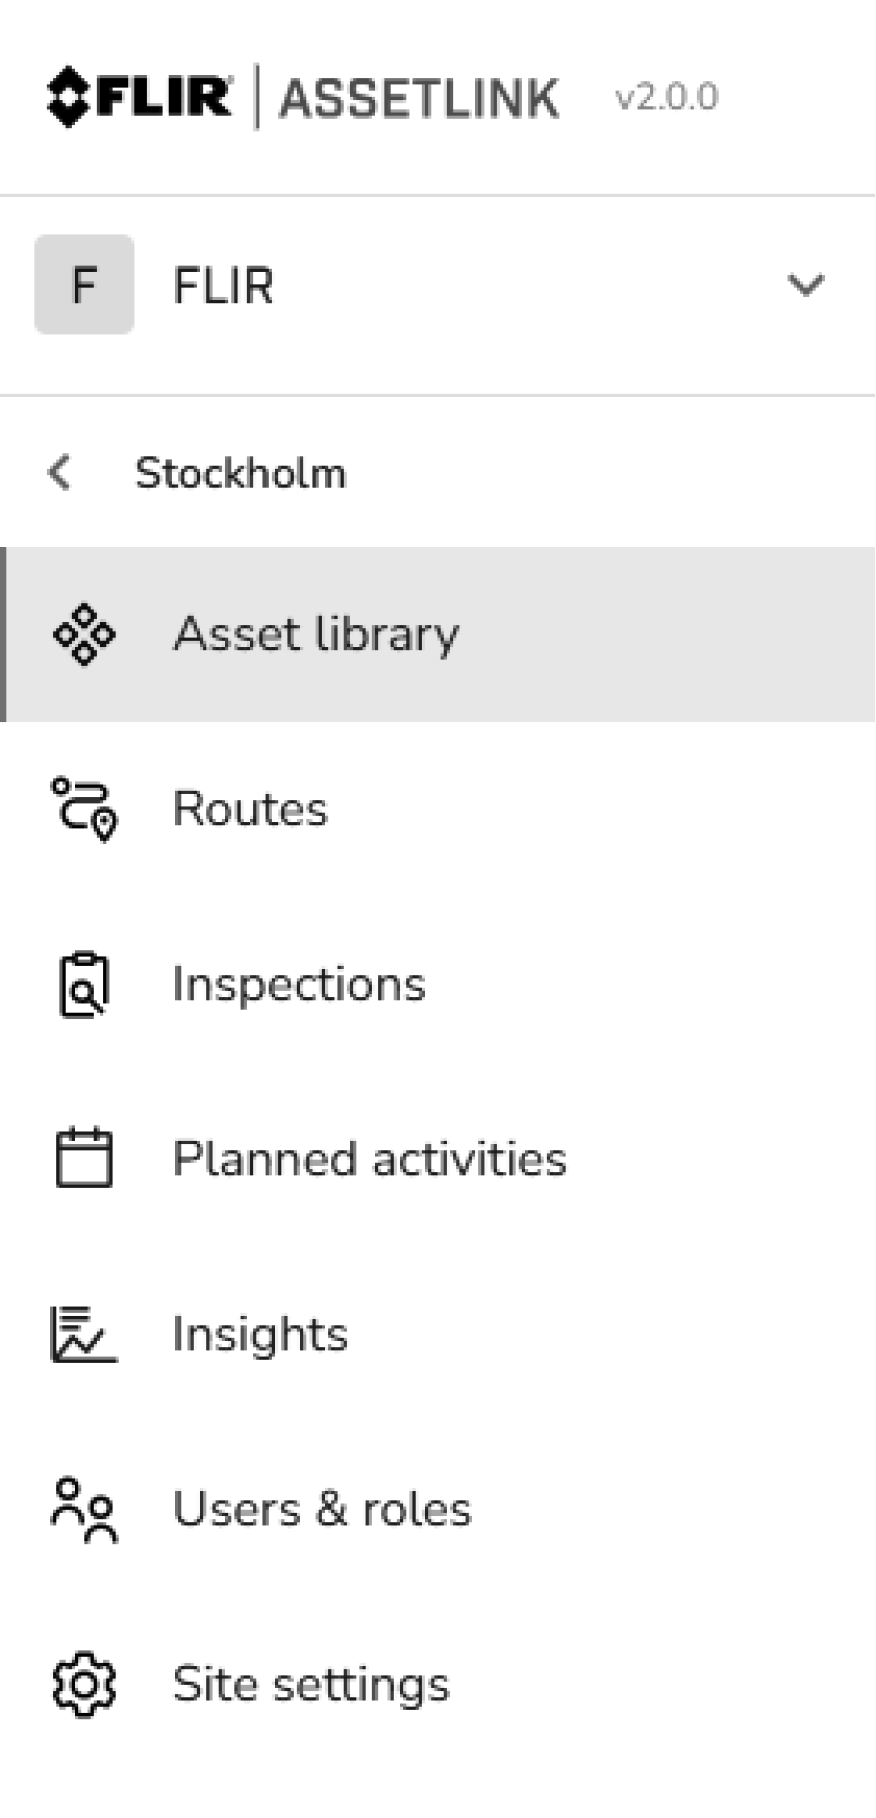
Figure 2.
Click on New location or New asset and name it.
A location can be a building, a floor, a room or a group and can be changed later.
Use the drop-down menu (+) to select New asset, New inspection point or New location, to build a structure.
Import CSV file
If the Asset library is empty, meaning that no asset ever been added to the library, it is possible to import a CSV file containing asset data.
If an asset has been added and deleted, it is no longer possible to import CSV files. In this case, create a new site and import the CSV file into the empty Asset library instead.
The user can download a sample file to see what the CSV file looks like.
To import a CSV file, do the following:
Click on Import assets.
Use the Drag and drop or choose file area to import a file.
Click NEXT.
Configure the import as desired.
Click NEXT.
Select type for each column.
Click NEXT.
Click IMPORT.
Delete objects
Click on the three dotted menu,
 .
.Click Delete.