Routes
A route is a list of assets that gives the user a structured way to keep track of the assets to be inspected.
Inspection workflow
The route workflow typically involves the following steps:
Create a route file. See Create a new route.
Add the route file to the camera. See Download route with iXX camera alternativelyDownload route with Txx/Exx camera.
Do the inspection with the camera. The camera stores the inspection, including all inspection data. See Inspections.
Transfer the inspection results to Flir Assetlink. See Upload inspection results to Flir Assetlink.
Review and analyze inspection results.
Create a route report. See Create a report.
Create a new route
For Linux cameras, there is a limit of five levels of locations, assets and inspection points for a route.
To create an inspection route manually, do the following:
Log in to Flir Assetlink.
Select Routes.
Click on New Route.
Name the new route.
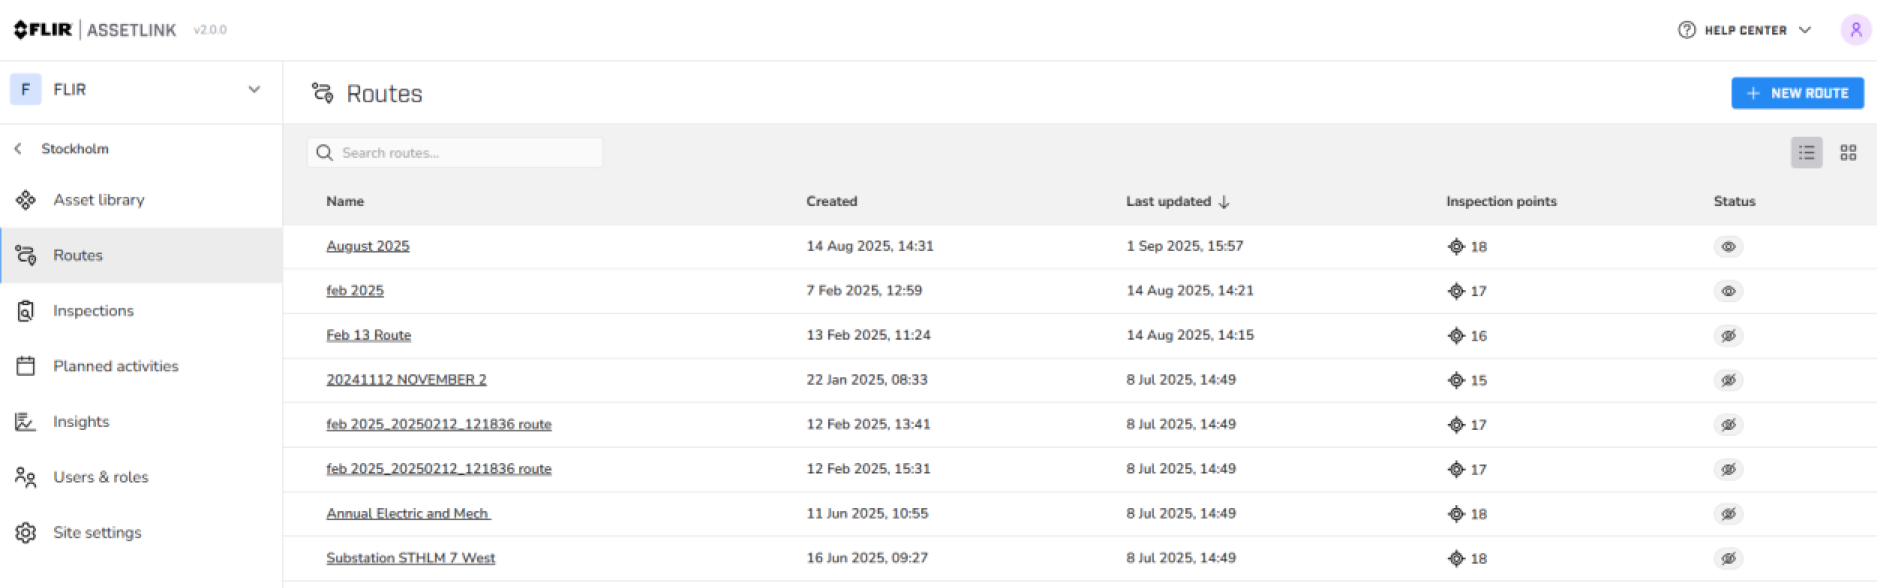
Figure 1.
Click EDIT ROUTE.
Select assets to add from the list on the left.
Click the icon,
 , to add the asset to the list on the right, see Figure 2.
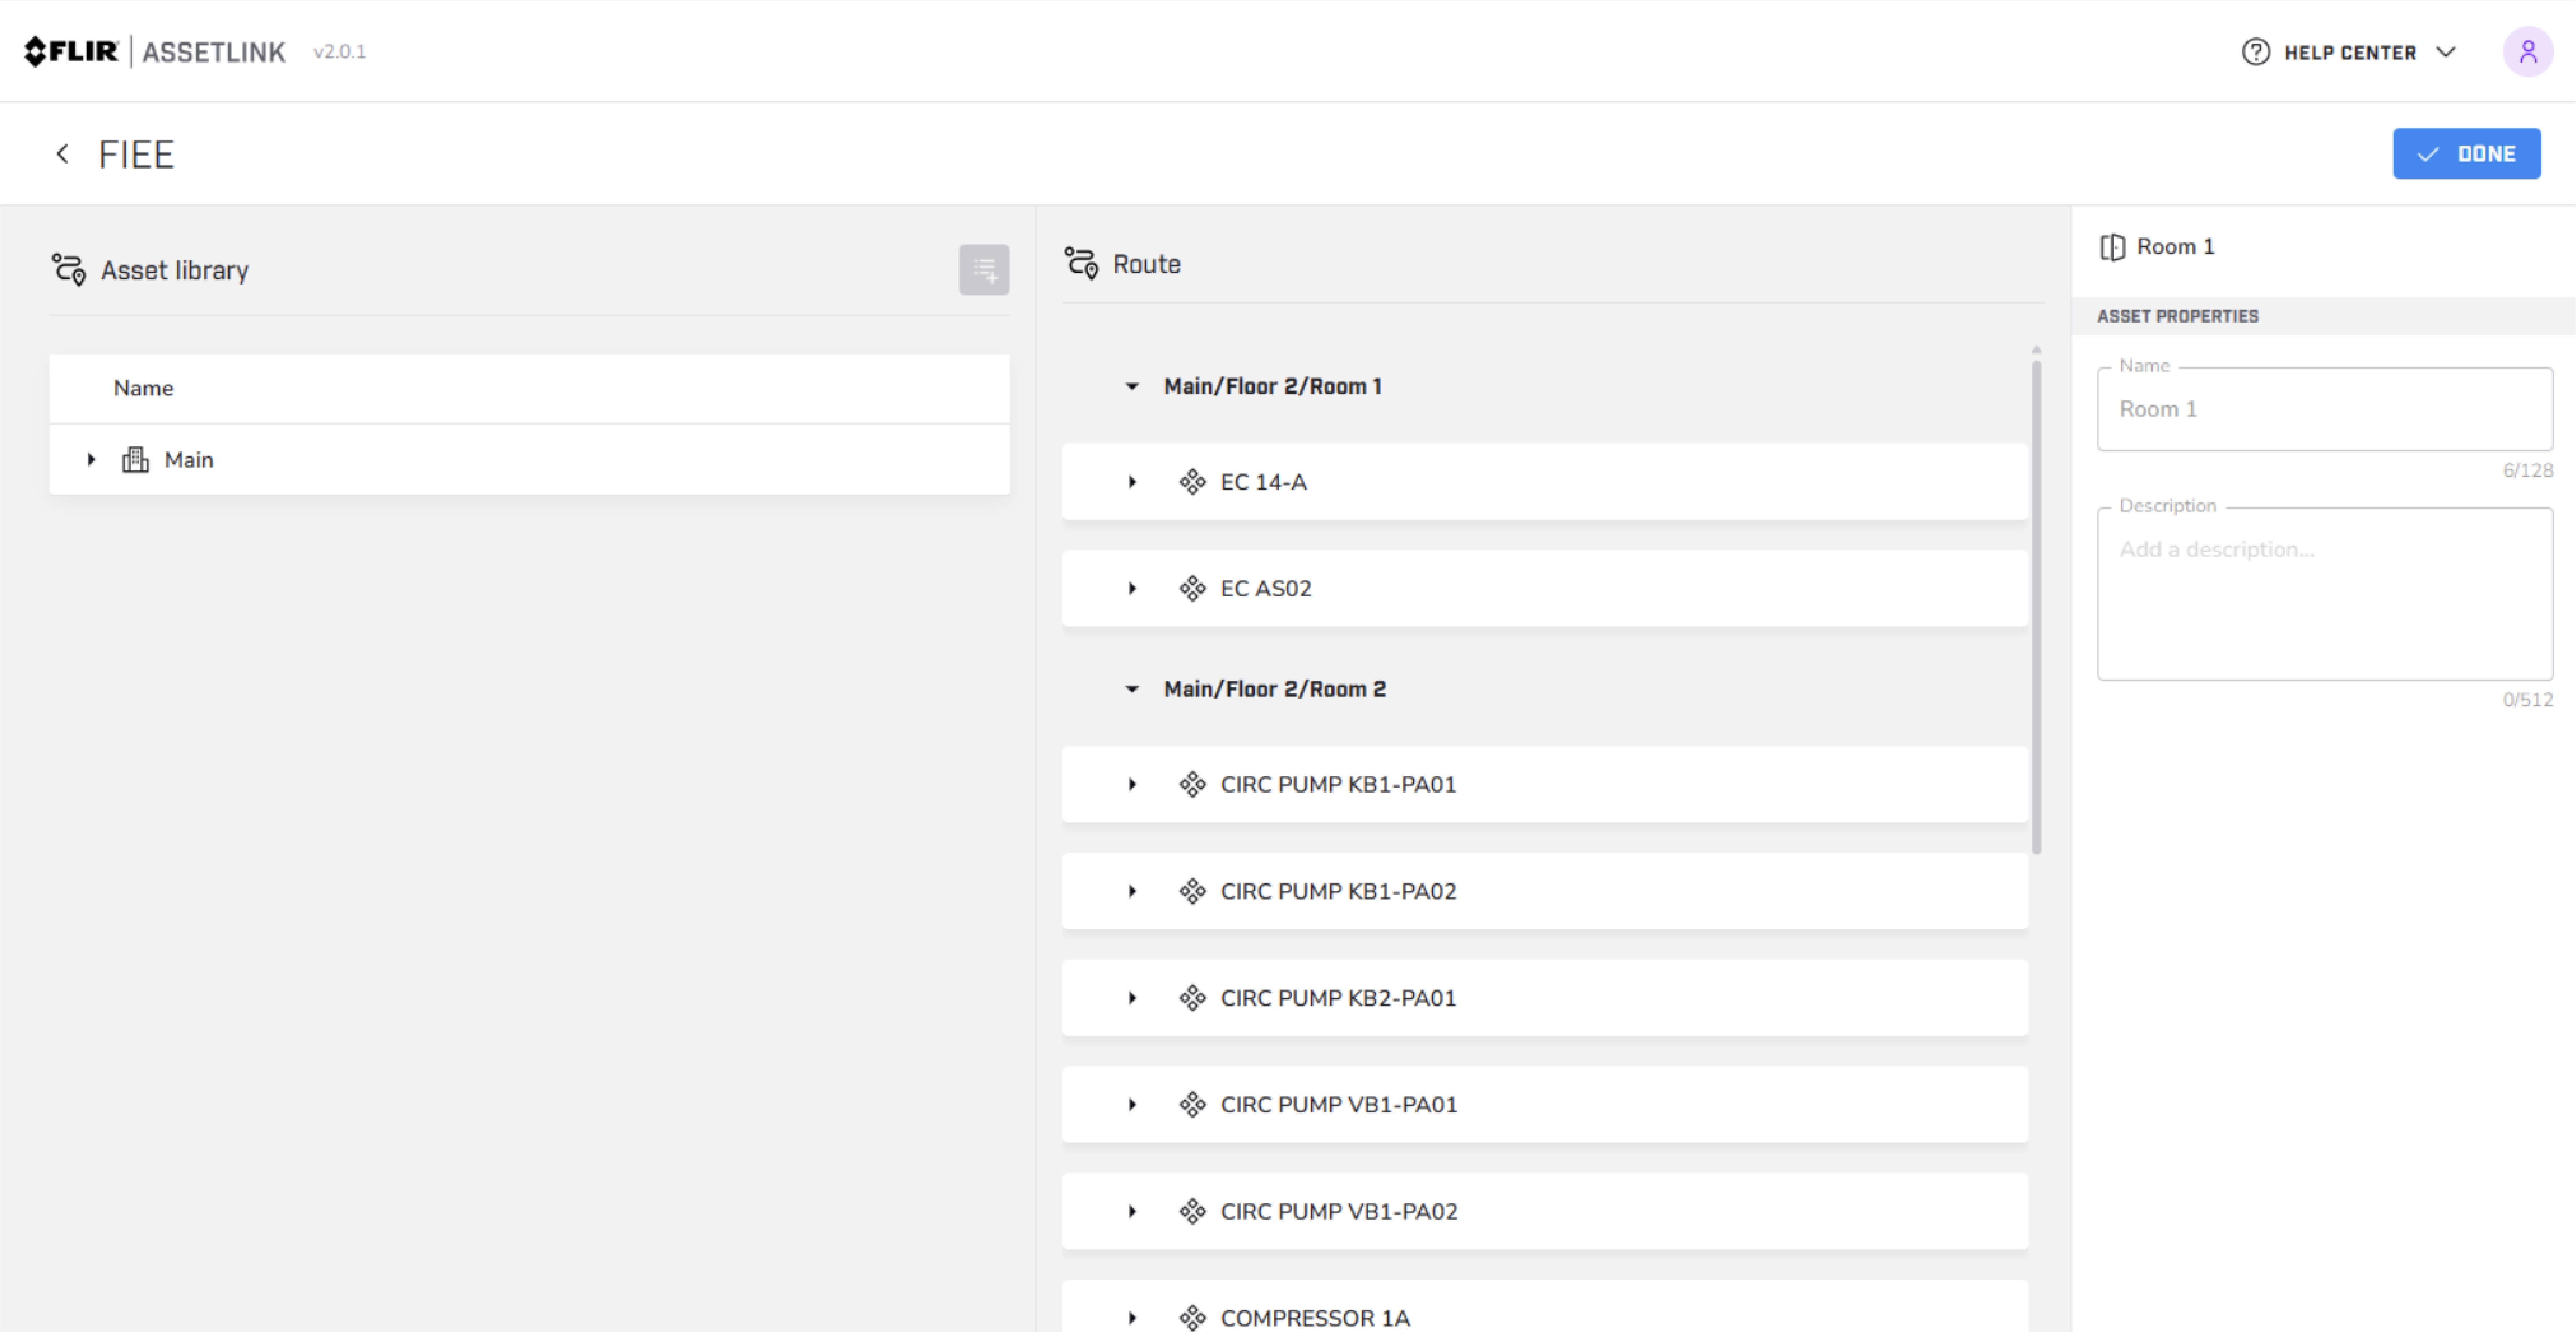
Figure 2.
Click on DONE when the list is complete.
Download route with iXX camera
Download route with Wi-Fi
Make sure the camera is connected to Wi-Fi and paired with an Flir Assetlink account, see Pairing cameras to Flir Assetlink.
Open the Flir Assetlink app.
Select ADD ROUTES.
Select an organization, if available.
Select a workspace, if available.
Select a site.
A list of routes will be shown.
Click the download icon to download selected routes.
The downloaded route can be found by clicking on the route or routes.
Download route with USB cable
Connect the USB-C cable from the computer to the camera.
Open Settings > USB preferences > File transfer.
Save the route on the camera.
Download route with Txx/Exx camera
Version 8.80.000 or later of the camera firmware is required.
Download route with Wi-Fi
Make sure the camera is connected to Wi-Fi and paired with Flir Assetlink, see Pairing cameras to Flir Assetlink
Log in with a Flir Assetlink account.
Open the camera settings.
Select Routing > Assetlink organisations.
Select the correct workspace and site for the current routes.
A list of routes will show.
Select routes and click DOWNLOAD.
The downloaded .routex file will be located in the camera´s route list.
NoteIf the file is downloaded in the browser, copy the file to the Routes folder in the camera.
Download route with SD card/USB cable
Download the route to the computer.
Insert the SD card in the computer or use a USB cable.
Save the route in the Routes folder on the camera.