Basic operation
Safety information
Before operating the camera, you must read, understand, and follow the warnings and cautions in the Safety information publication.
For the FLIR Gx models, there is a dedicated Safety information publication, including warnings and cautions related to explosive and hazardous locations.
The Safety information publication is supplied with the camera. It is also available at the following internet address: https://support.flir.com/resources/b9rp.
Battery
Install the battery
Use a clean, dry cloth to remove any water or moisture on the battery before you install it.
Open the cover at the rear of the camera.
Push the battery into the battery compartment.
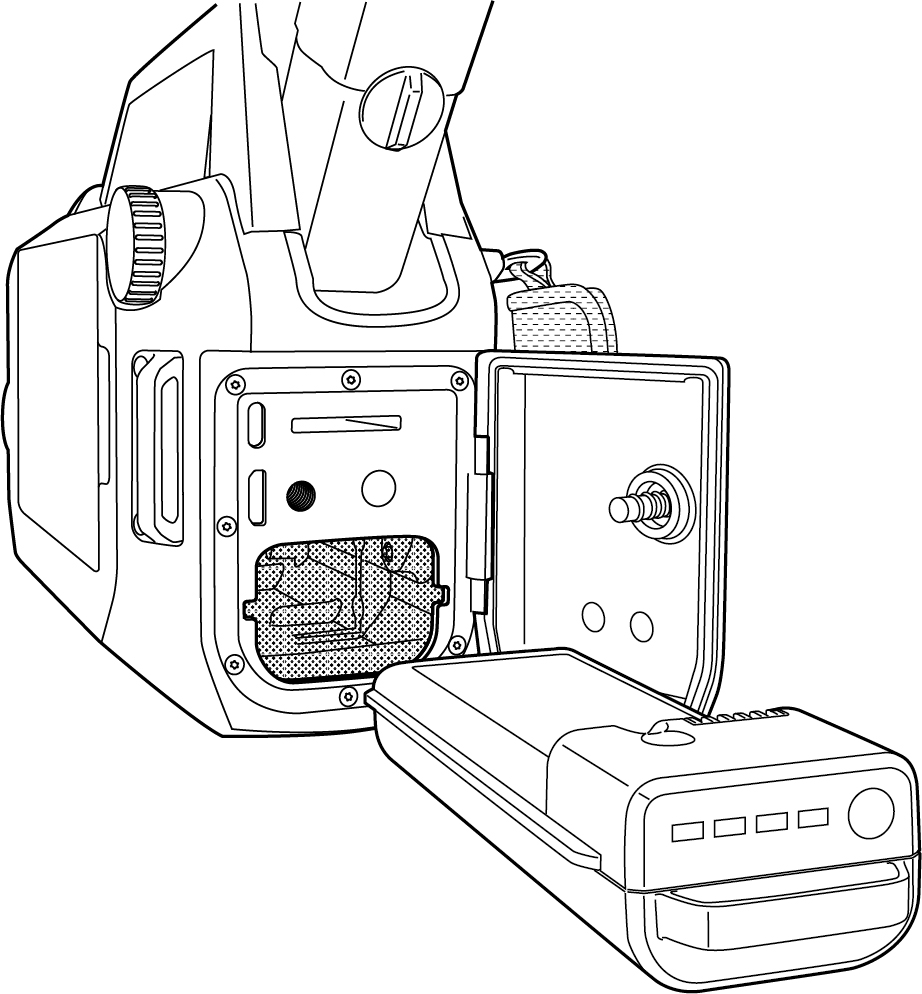
Close the cover. Tighten the screw.
Remove the battery
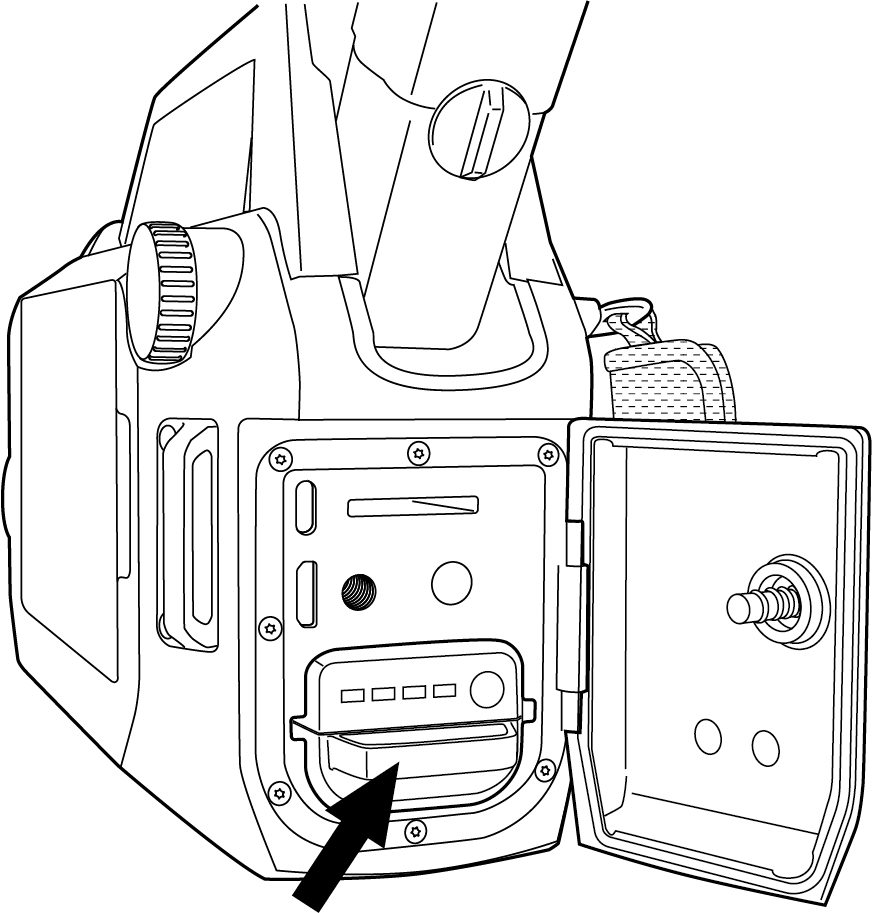
Power off the camera.
Open the cover at the rear of the camera.
Use the handle to pull out the battery.
Battery indicator
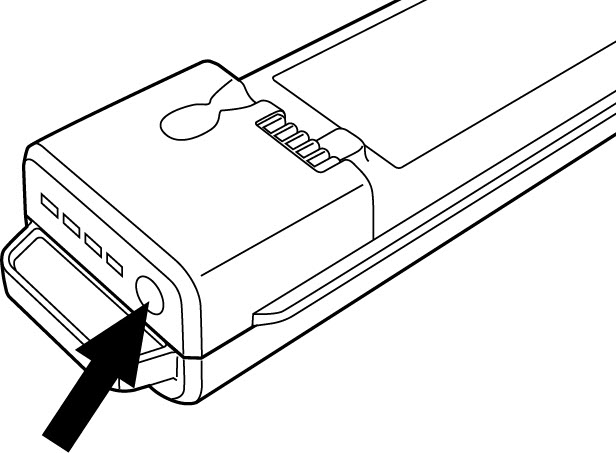
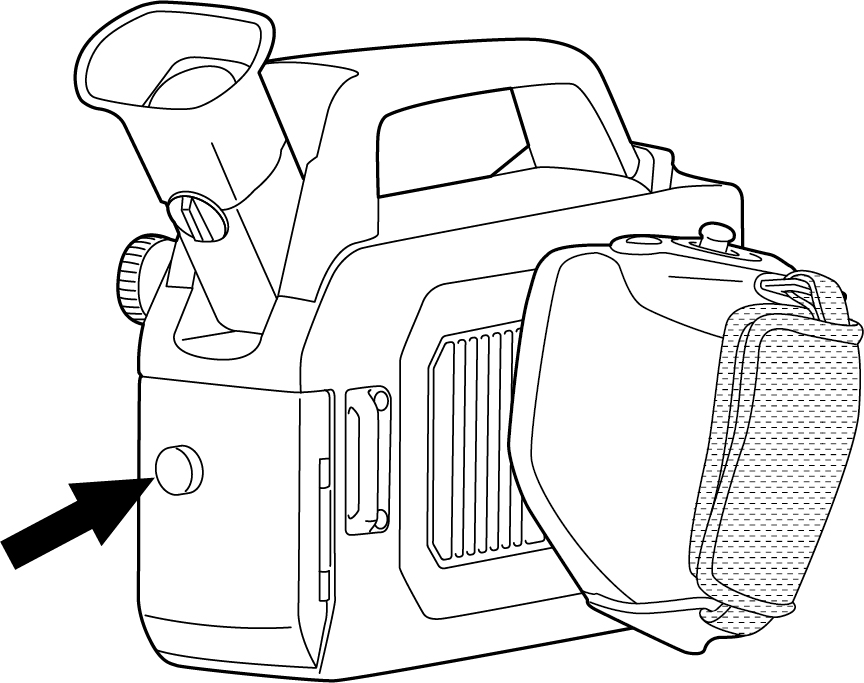
To check the battery level, push the button. The lights indicate the battery level.
|
Indicator lights |
Battery level |
|---|---|
 |
below 10% |
 |
up to 60% |
 |
up to 90% |
 |
above 90% |
See also section Battery indicator — charging.
Battery charging
You can charge the battery by using the battery charger and its power supply. When the battery is in the camera, you can charge the battery by connecting the power supply to the camera.
When you connect the power supply to a mains socket, select a socket that is easy to access. Should a hazardous situation occur, you must be able to easily disconnect the power supply.
It is good practice to disconnect the power supply from the mains socket when not in use.
Battery indicator — charging
During the charging, the battery lights indicate the battery level and the last light is flashing.
When the battery is fully charged, all lights are steady on for 15 minutes and then turn off.
Charge the battery using the battery charger
Put the battery in the battery charger.
Connect the power supply to the battery charger.
Connect the power supply to a mains socket.
Charge the battery in the camera
Open the cover at the rear of the camera.
Connect the power supply cable to the power connector in the camera.
Connect the power supply to a mains socket.
When the charging is completed, disconnect the power supply from the camera.
Close the cover. Tighten the screw.
Power on/off
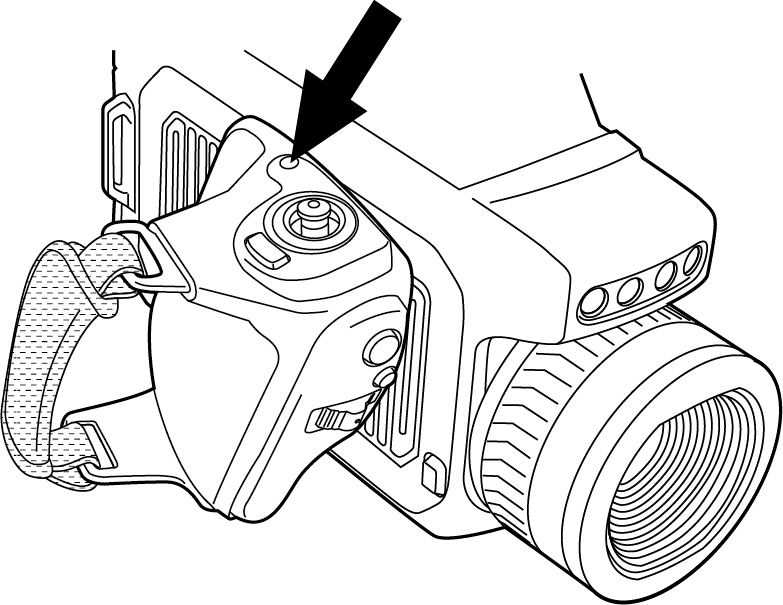
Figure 1. On/Off button
Power on
To power on the camera, push the On/Off button.
When you power on the camera, a mechanical cooler starts to cool down the thermal detector. The loud cooler sound is fully normal. When the cooling procedure is completed, there is a distinct change of the sound.
The cooling procedure typically takes several minutes. At high ambient temperatures the cooling time may be much longer.
Power off
To power off the camera, push and hold the On/Off button.
Do not remove the battery to power off the camera.
Display
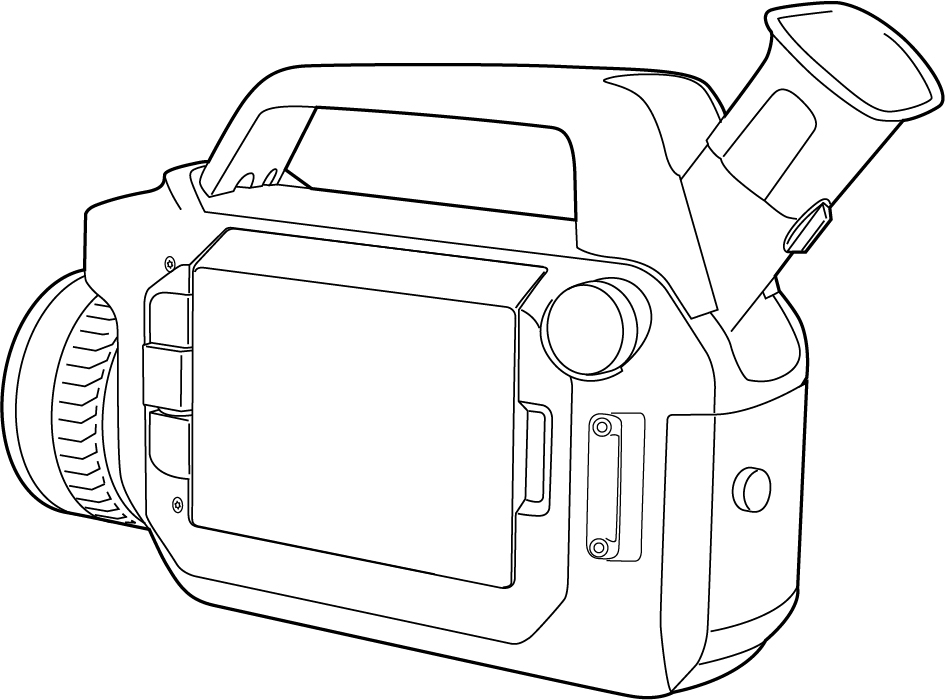
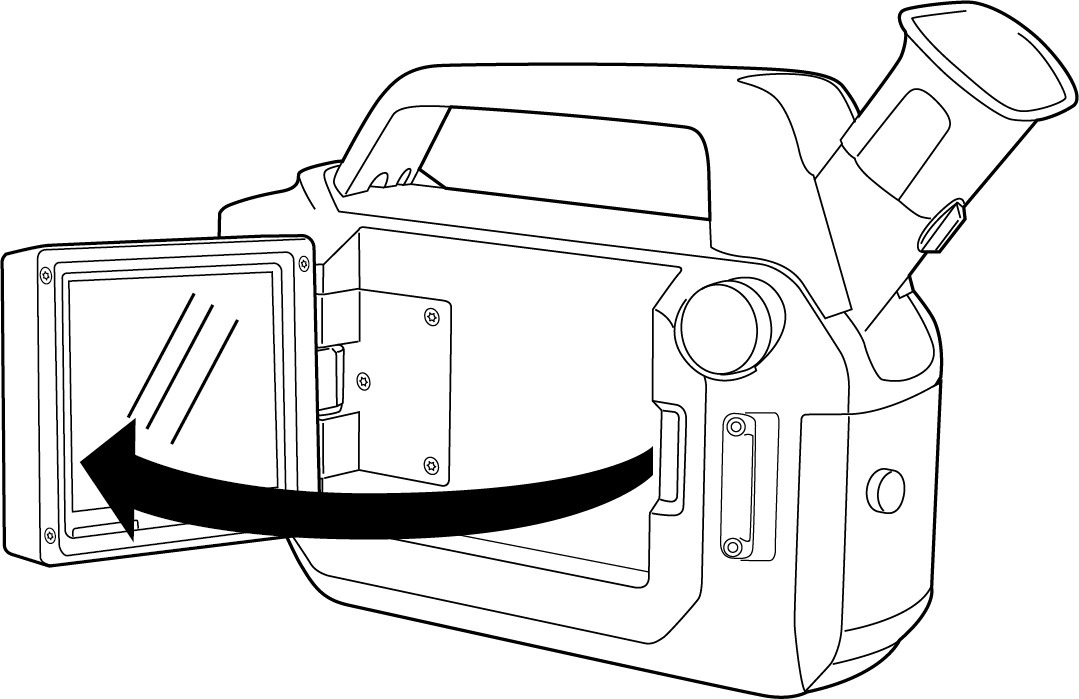
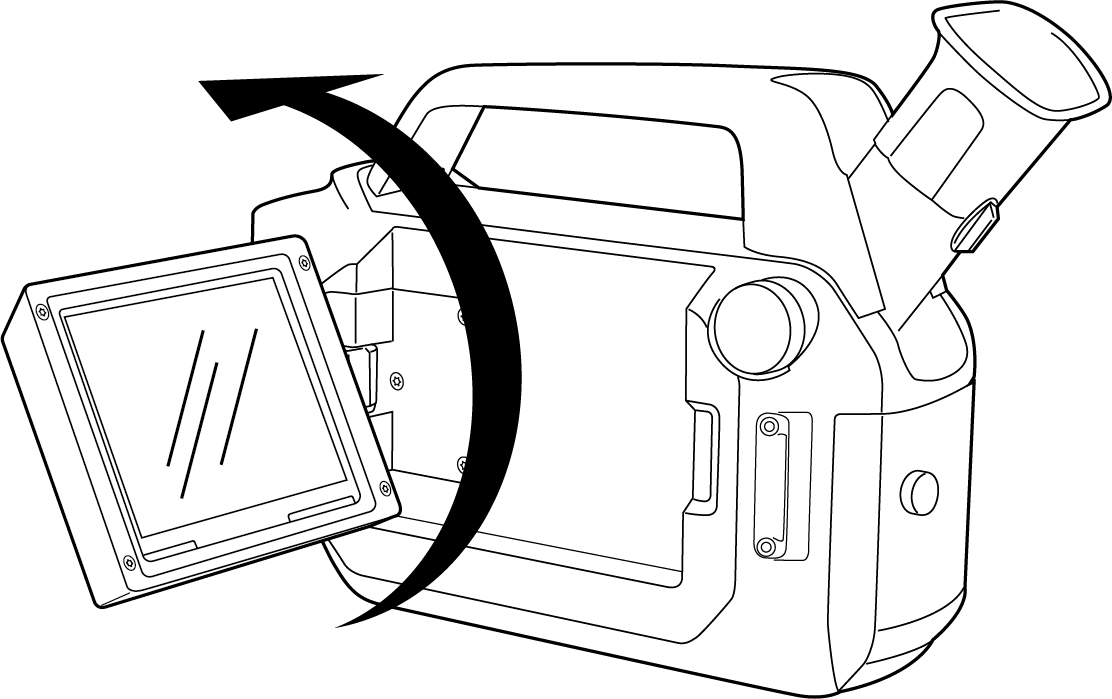
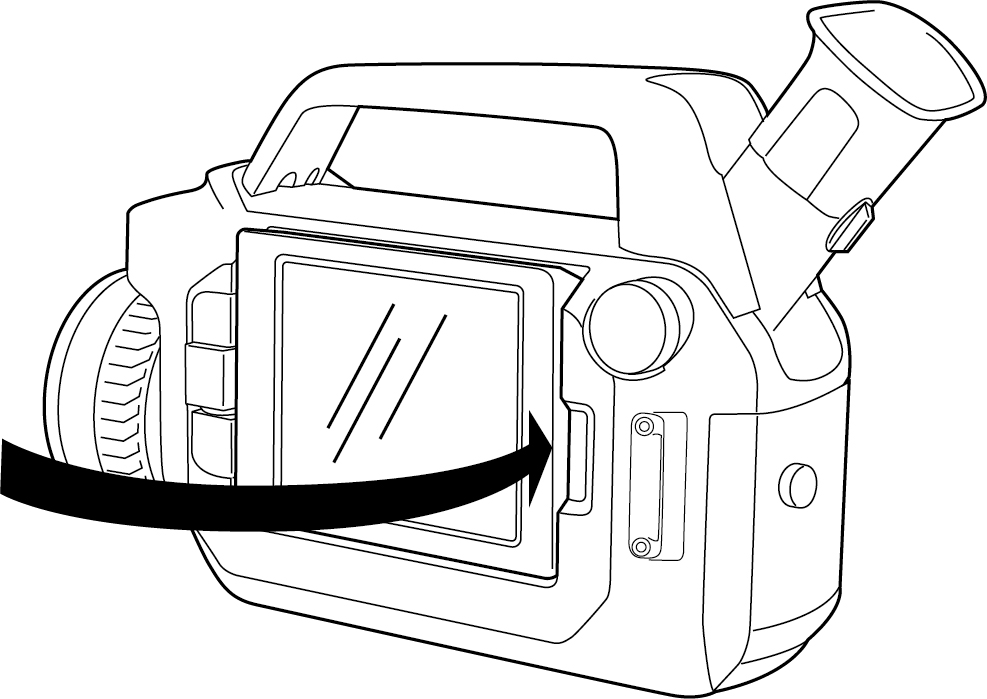
You can unfold the display and adjust the viewing angle to fit your work position.
It is possible to close the display with the screen facing inwards or outwards.
|
|
|
|
Viewfinder
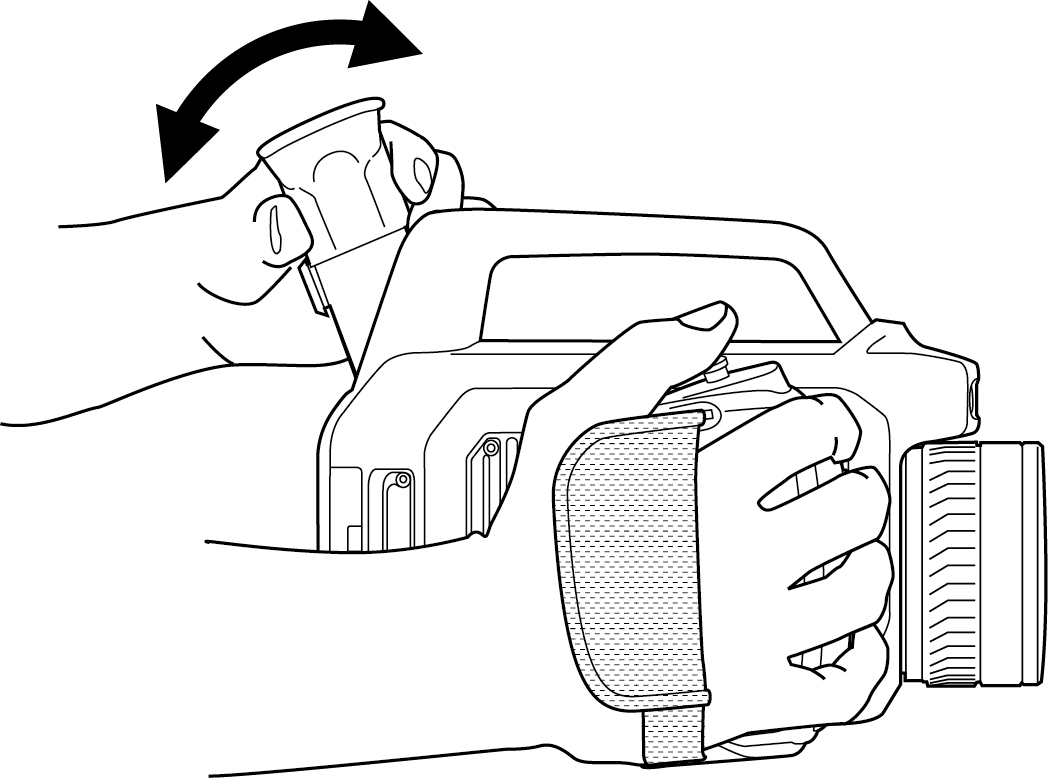
Before you can use the viewfinder, you must close the display with the screen facing inwards.
To adjust the viewing angle of the viewfinder, tilt the viewfinder up or down.
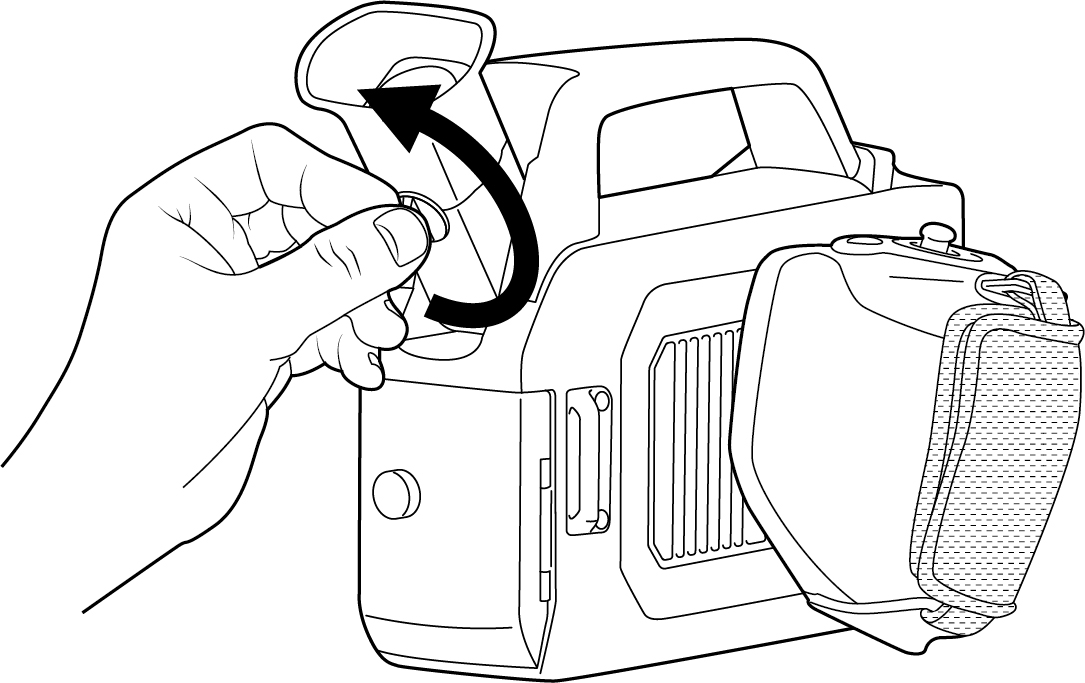
To adjust the viewfinder for your eyesight, look through the viewfinder and turn the diopter adjustment knob for best sharpness.
Ergonomics
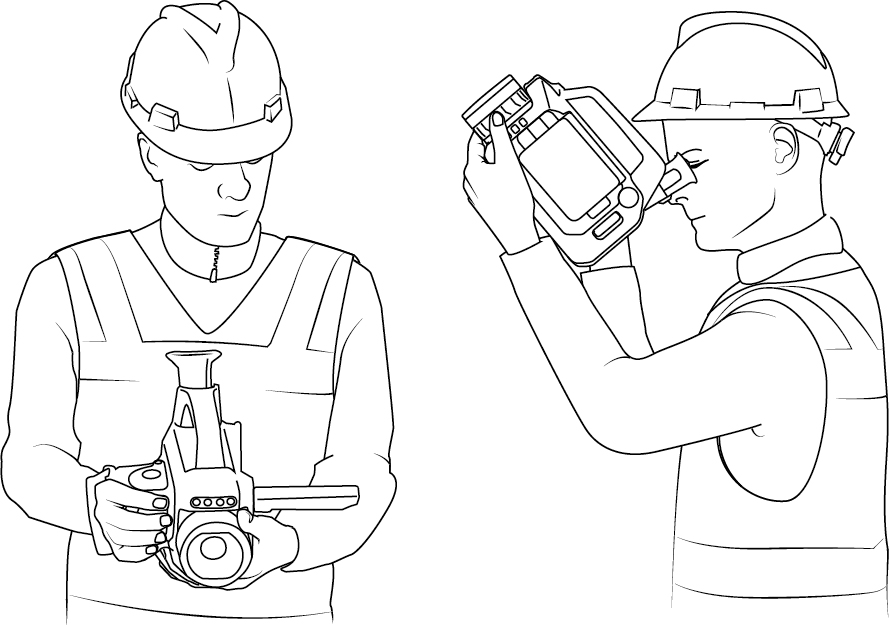
To make your working position as comfortable as possible and to prevent overstrain injuries, it is important that you hold the camera correctly.
Always adjust the camera grip, viewfinder, and display to fit your work position.
When you hold the camera, make sure you support the camera housing with your left hand too. This decreases the strain on your right hand.
Focus
Manual focus
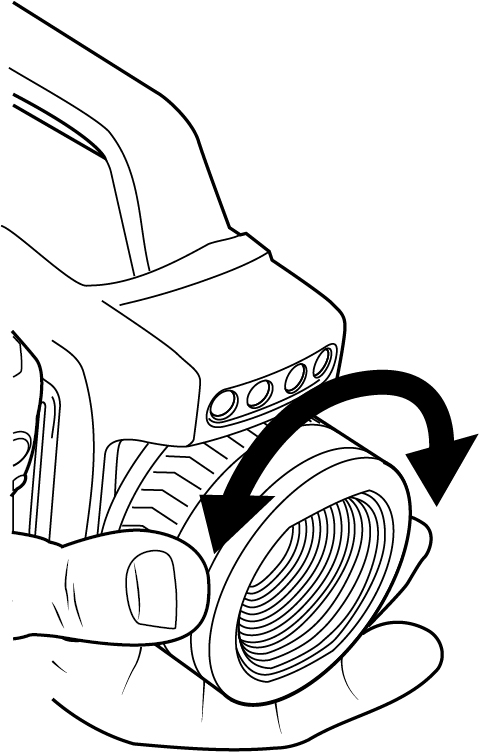
To adjust the focus manually, rotate the focus ring.
Make sure you do not touch the lens surface. Should this happen, clean the lens according to the instructions in section Infrared lens.
Autofocus
This feature is not applicable to the FLIR Gx models.
To autofocus, push the center of the Focus/Zoom button.
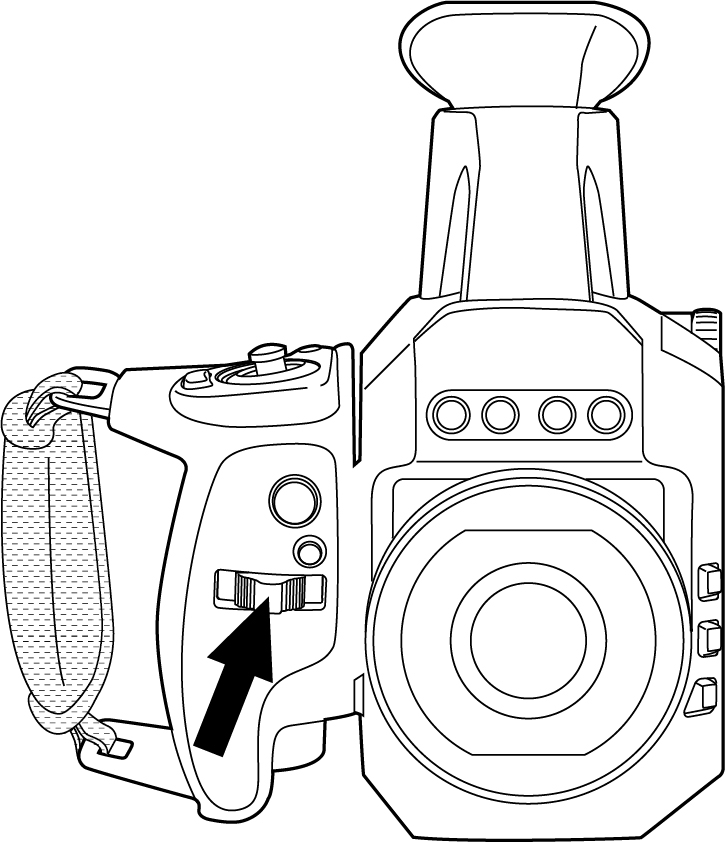
Figure 2. Focus/Zoom button
Temperature range
The camera is calibrated for different temperature ranges. The available temperature range options depend on the camera model.
To change the temperature range, do the following:
Push the Temperature range button. This displays the available temperature range options on the screen.
Do one of the following:
Move the joystick up/down to select a temperature range. Push the center of the joystick to confirm.
Tap the desired temperature range on the screen.
Wait a short while and the camera will apply the selected temperature range.
You can also change the temperature range on the Settings menu.
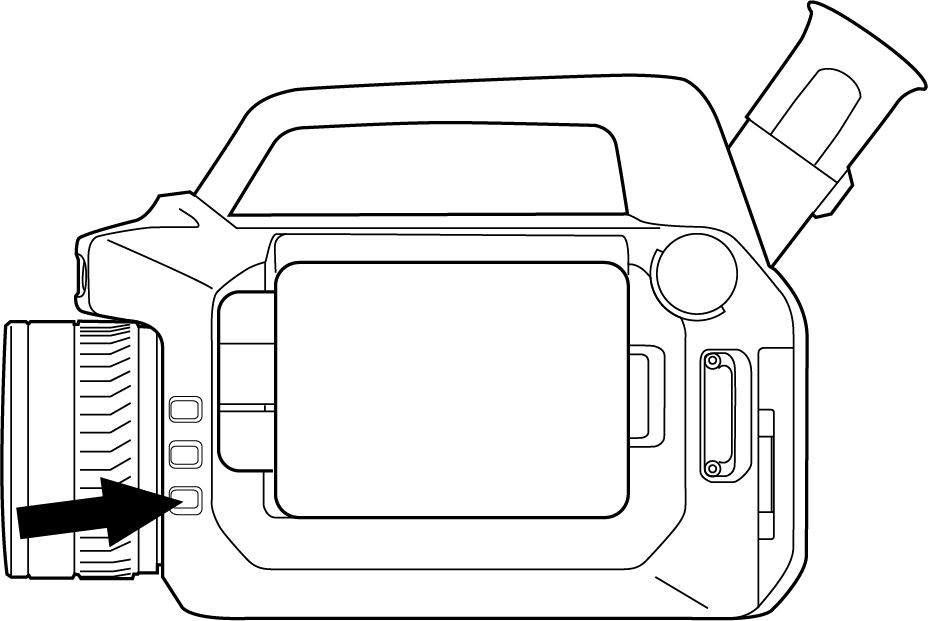
Figure 3. Temperature range button
Mode wheel
The camera can operate in different modes. You select the mode on the Mode selection menu.
To display and navigate the Mode selection menu, turn the mode wheel. Wait a short while and the camera will enter the highlighted mode.
You can also display the Mode selection menu from the main toolbar, see section Main toolbar.
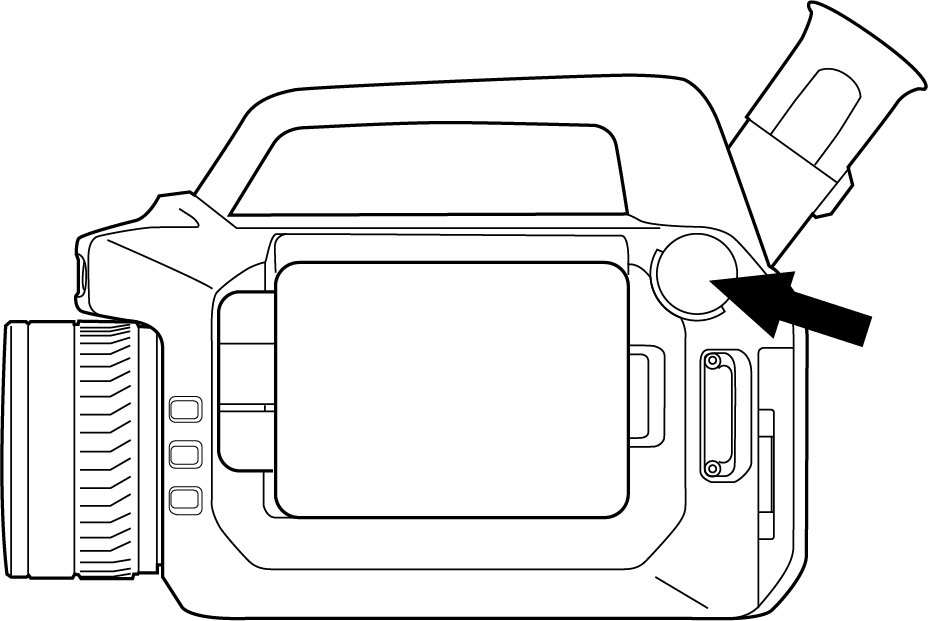
Figure 4. Mode wheel
Save and record
You can save images and record videos by pushing the Record button.
The function of the Record button depends on the selected camera mode.
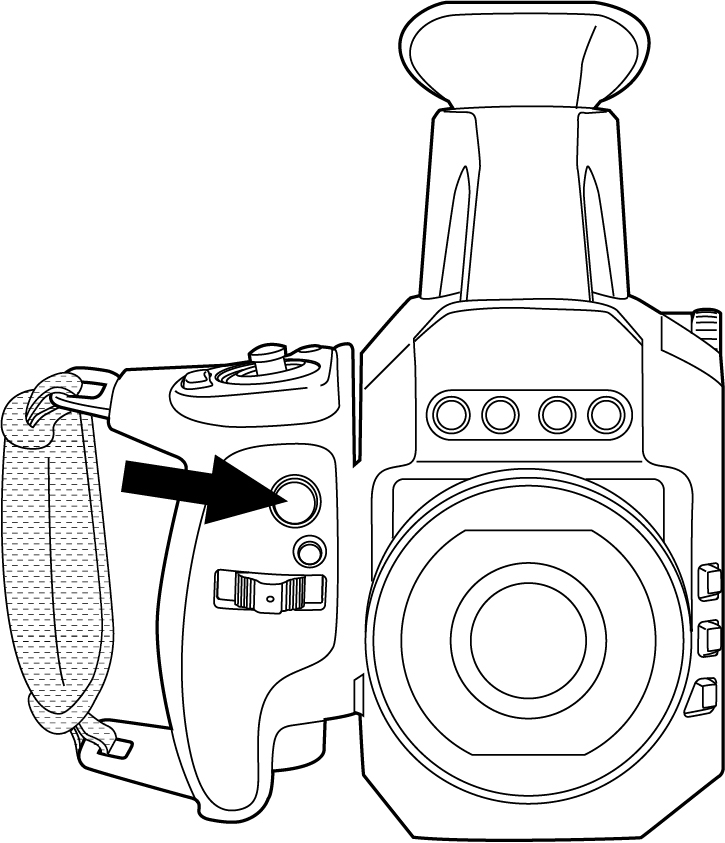
Figure 5. Record button
Save an image
On the Mode selection menu, select Camera.
To save an image, push the Record button.
Record a video
On the Mode selection menu, select Video.
To start the recording, push the Record button.
To stop the recording, push the Record button again. The recording is automatically saved.
Zoom
You can digitally zoom an image by using the touch screen or the Focus/Zoom button.
To adjust the zoom, do one of the following:
On live, preview, and saved images: Place two fingers on the screen and pinch in or stretch out.
On preview and saved images: Push the Focus/Zoom button left/right.
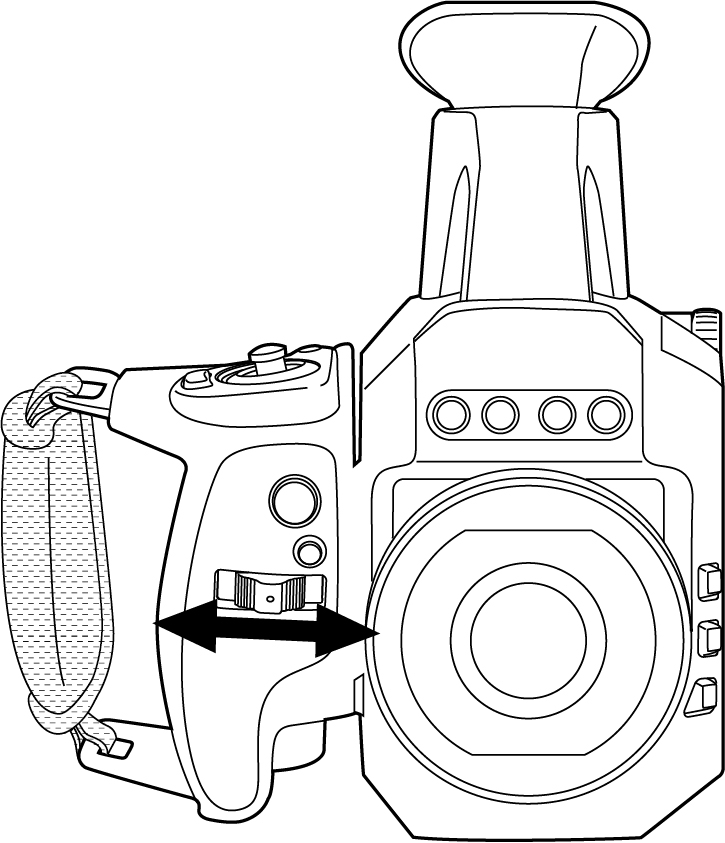
Figure 6. Focus/Zoom button
Programmable buttons
There are two individually programmable buttons.
You can assign different functions to the programmable buttons. You can, for example, use one programmable button to easily activate the High Sensitivity Mode (HSM) and the other to switch between automatic and manual image adjustment modes.
To assign a function to a programmable button, do the following:
Push and hold the programmable button. This displays a menu with the programmable button options.
Do one of the following:
Move the joystick up/down to select a function. Push the center of the joystick to confirm.
Tap the desired function on the screen.
Wait a short while and the camera will assign the selected function to the button.
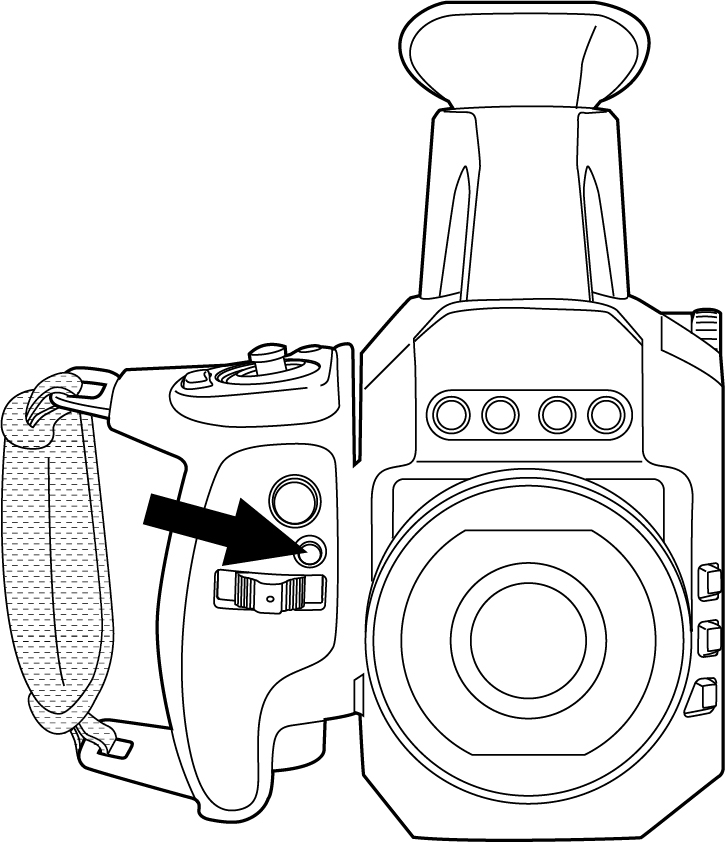
Figure 7. Programmable button
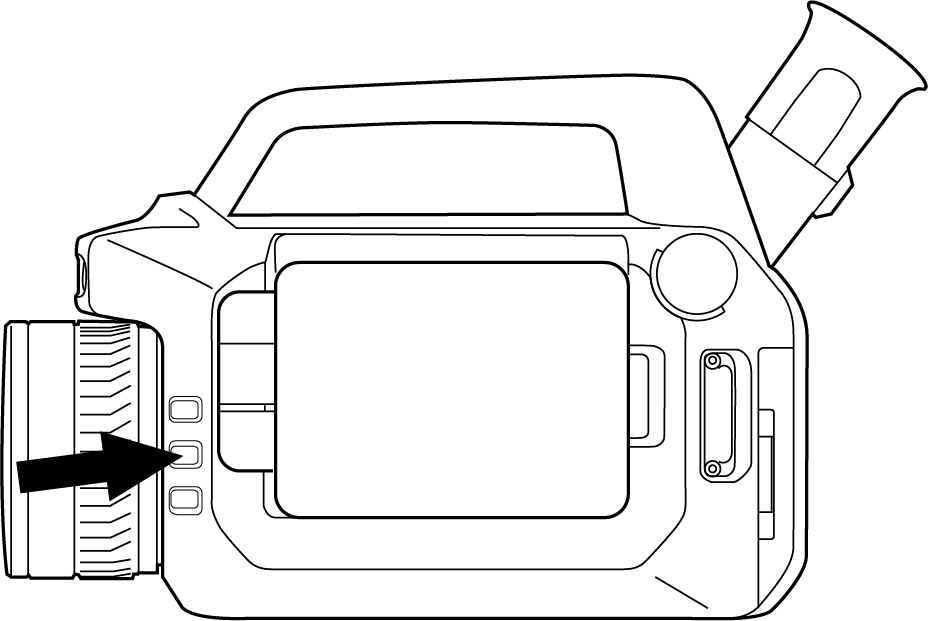
Figure 8. Programmable button
Laser pointer
Class 2 Laser Product
Do not stare directly into the laser beam. The laser beam can cause eye irritation.
The camera has a laser pointer. When the laser pointer is on, you will see a laser dot approximately at the target.
The laser is enabled by a setting. On the Settings menu, select Device settings > Lamp & laser > Enable lamp & laser.
To operate the laser pointer, do the following:
To turn on the laser pointer, push and hold the Laser button.
To turn off the laser pointer, release the Laser button.
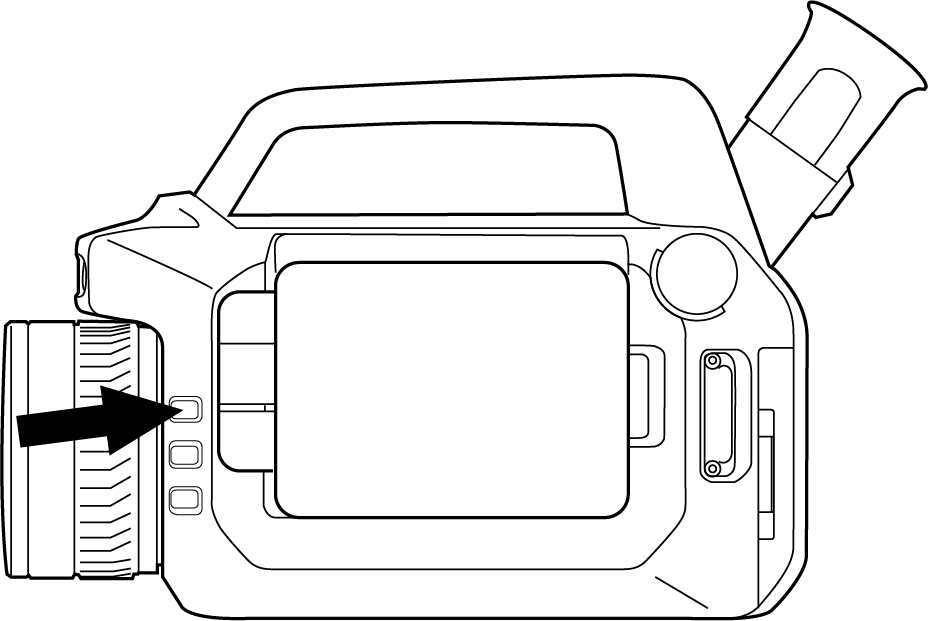
Figure 9. Laser button
File transfer
When you save a video or image, the camera stores the file in the image archive on the memory card.
You can transfer the files from the camera using one of the following methods:
Connect the camera to a computer with a USB cable.
Insert the memory card into a computer.
Upload the files to cloud storage, see section Cloud connectivity.
Upload the files via the camera web interface, see section Camera web interface.
Transfer files via USB cable
Open the cover at the rear of the camera.
Connect the camera to the computer with a USB cable.
Power on the camera.
Move the files to the computer using a drag-and-drop operation.
NoteThis does not delete the files in the camera.
Camera lamps
You can use the camera lamps as a flash for the digital camera and as a flashlight.
The flash function is enabled by a setting.
To use the camera lamps as a flashlight, do the following:
On the Settings menu, select Device settings > Lamp & laser > Enable lamp & laser or Enable lamp & laser + Use lamp as flash.
To turn on the lamps, swipe down from the top of the screen and use the Quick menu.
Knob screw
Not available for FLIR Gx models.
The camera is delivered with a Torx T20 locking screw for the rear cover. For easier access to the connector and battery compartment, you can replace the Torx T20 with the supplied knob screw.
Change the lenses
Before a new lens can be used with the camera, the lens–camera combination must be calibrated. This is a process that has to be performed by a FLIR service department.
When you have removed the lens, put the lens caps on the lens to protect it from dust and fingerprints.
Make sure you do not touch the lens surface. Should this happen, clean the lens according to the instructions in section Infrared lens.
To change lenses, do the following:
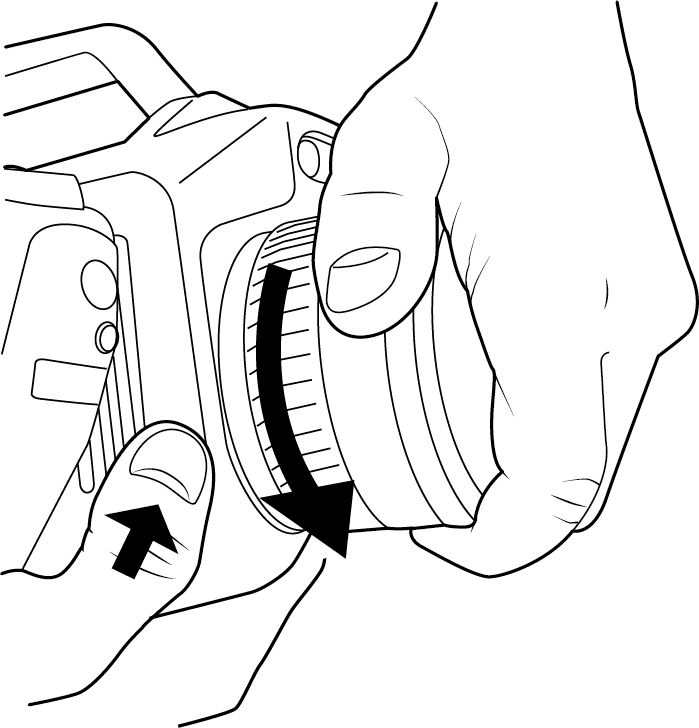
Take a firm grip around the outermost part of the lens. Push the release button and rotate the lens counter-clockwise until it stops.
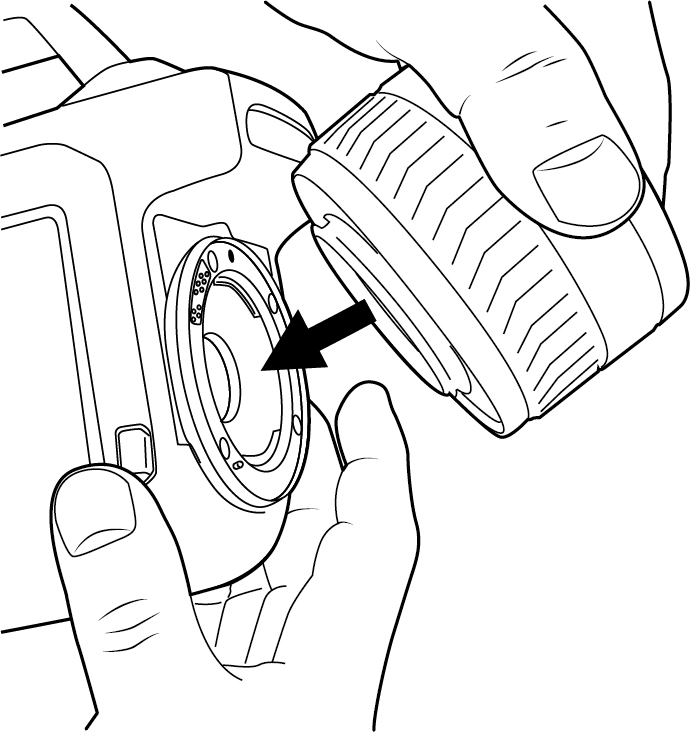
Carefully pull out the lens from the bayonet mount.
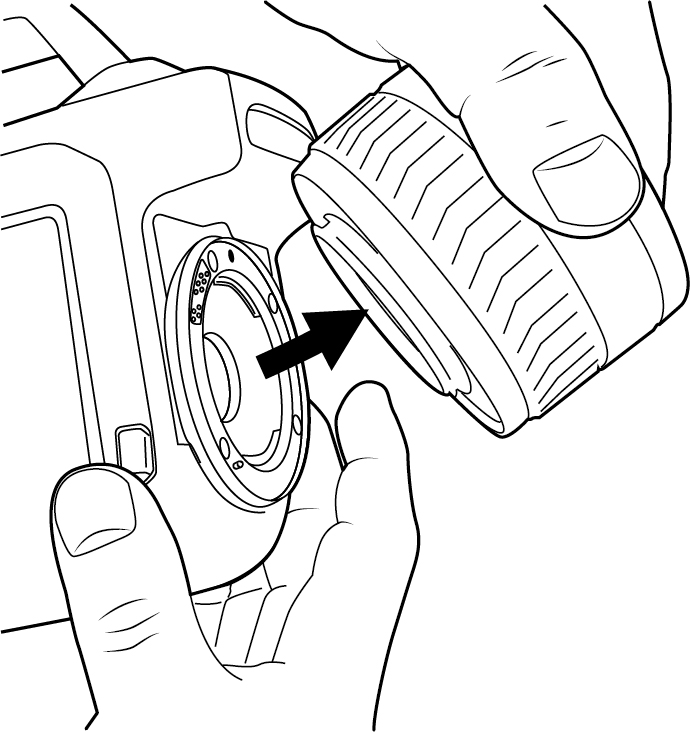
The thermal detector is now fully exposed. Do not touch this surface.
If you see dust on the detector, follow the instructions in section Infrared detector.
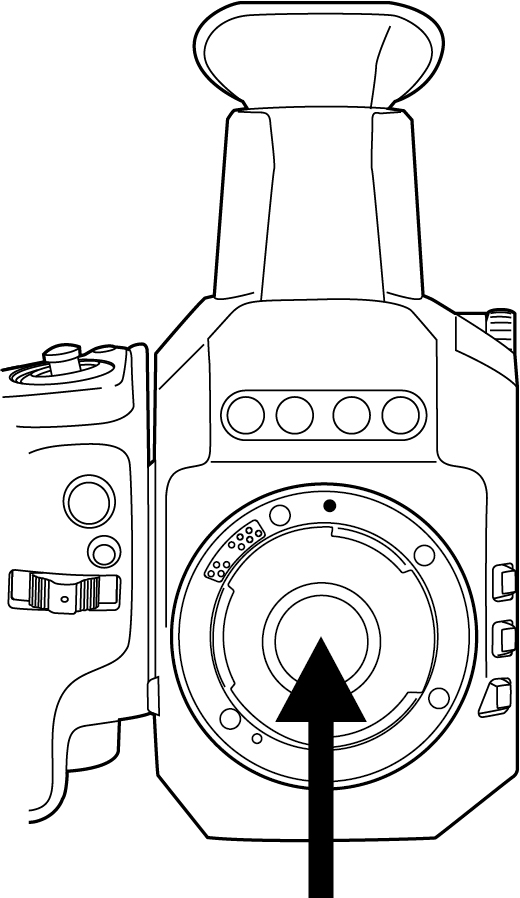
Note the index marks on the bayonet mount and on the lens.
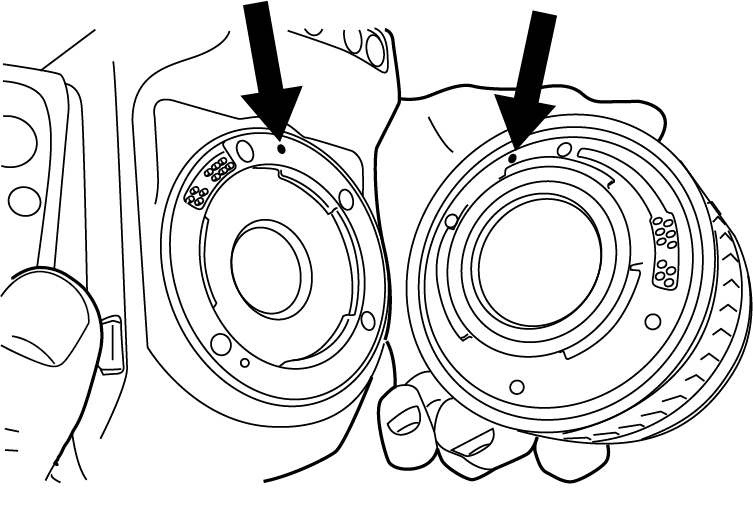
Align the lens to the bayonet mount. Carefully push the lens into position.
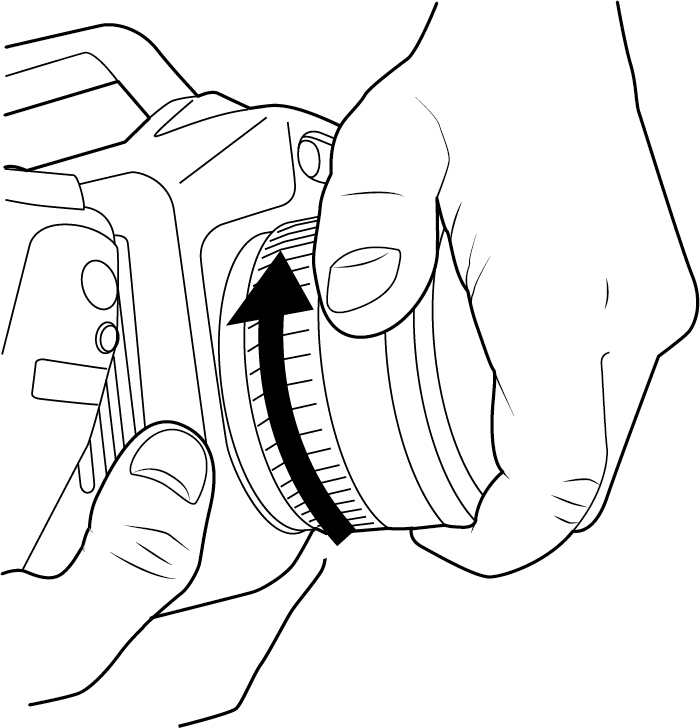
Rotate the lens clockwise. The lens makes a click when it locks in place.
Attach the heat shield
Attach the mounting sleigh assy to the camera before you are on site. The mounting sleigh assy can be left on the camera after it has been mounted.
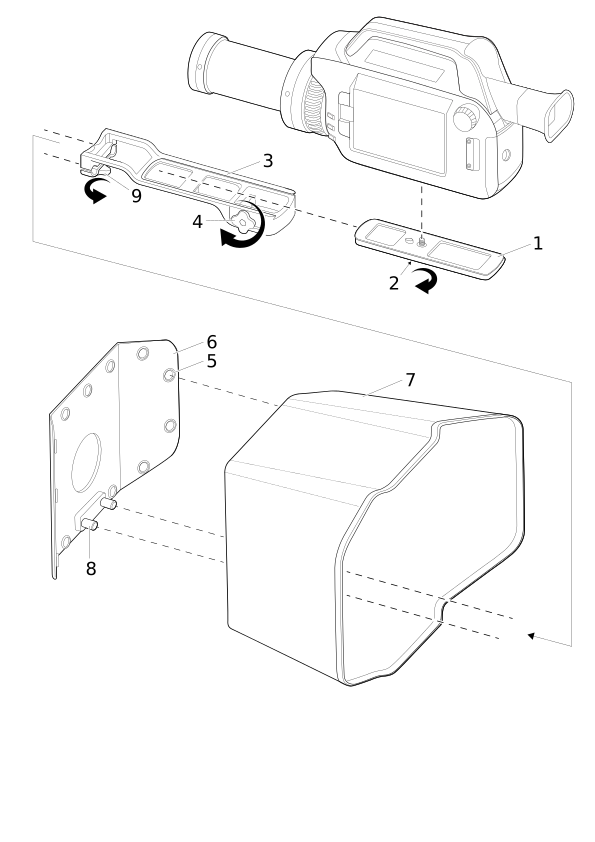
Mount the mounting sleigh assy (1) to the bottom of the camera.
Tighten the screw (2).
Slide the mounting sleigh assy (1) onto the heat shield bracket assy (3).
Tighten the knob (4).
Attach the press studs (5) from the heat shield assy (6) to the heat shield skirt (7).
Slide the heat shield skirt (7) with the attached heat shield assy (6) over the camera.
Mount the heat shield bracket assy (3) to the pins (8) on the heat shield assy (6).
Tighten the knob (9).
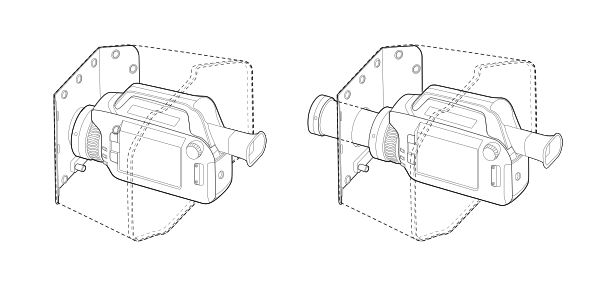
Heat shield mounted on camera for the 6° lens and heat shield mounted for the furnace lens.